3D Systems Touch Haptic Feedback Stylus Tutorial
Touch 3D Stylus: Hands on Design User Guide
Introduction
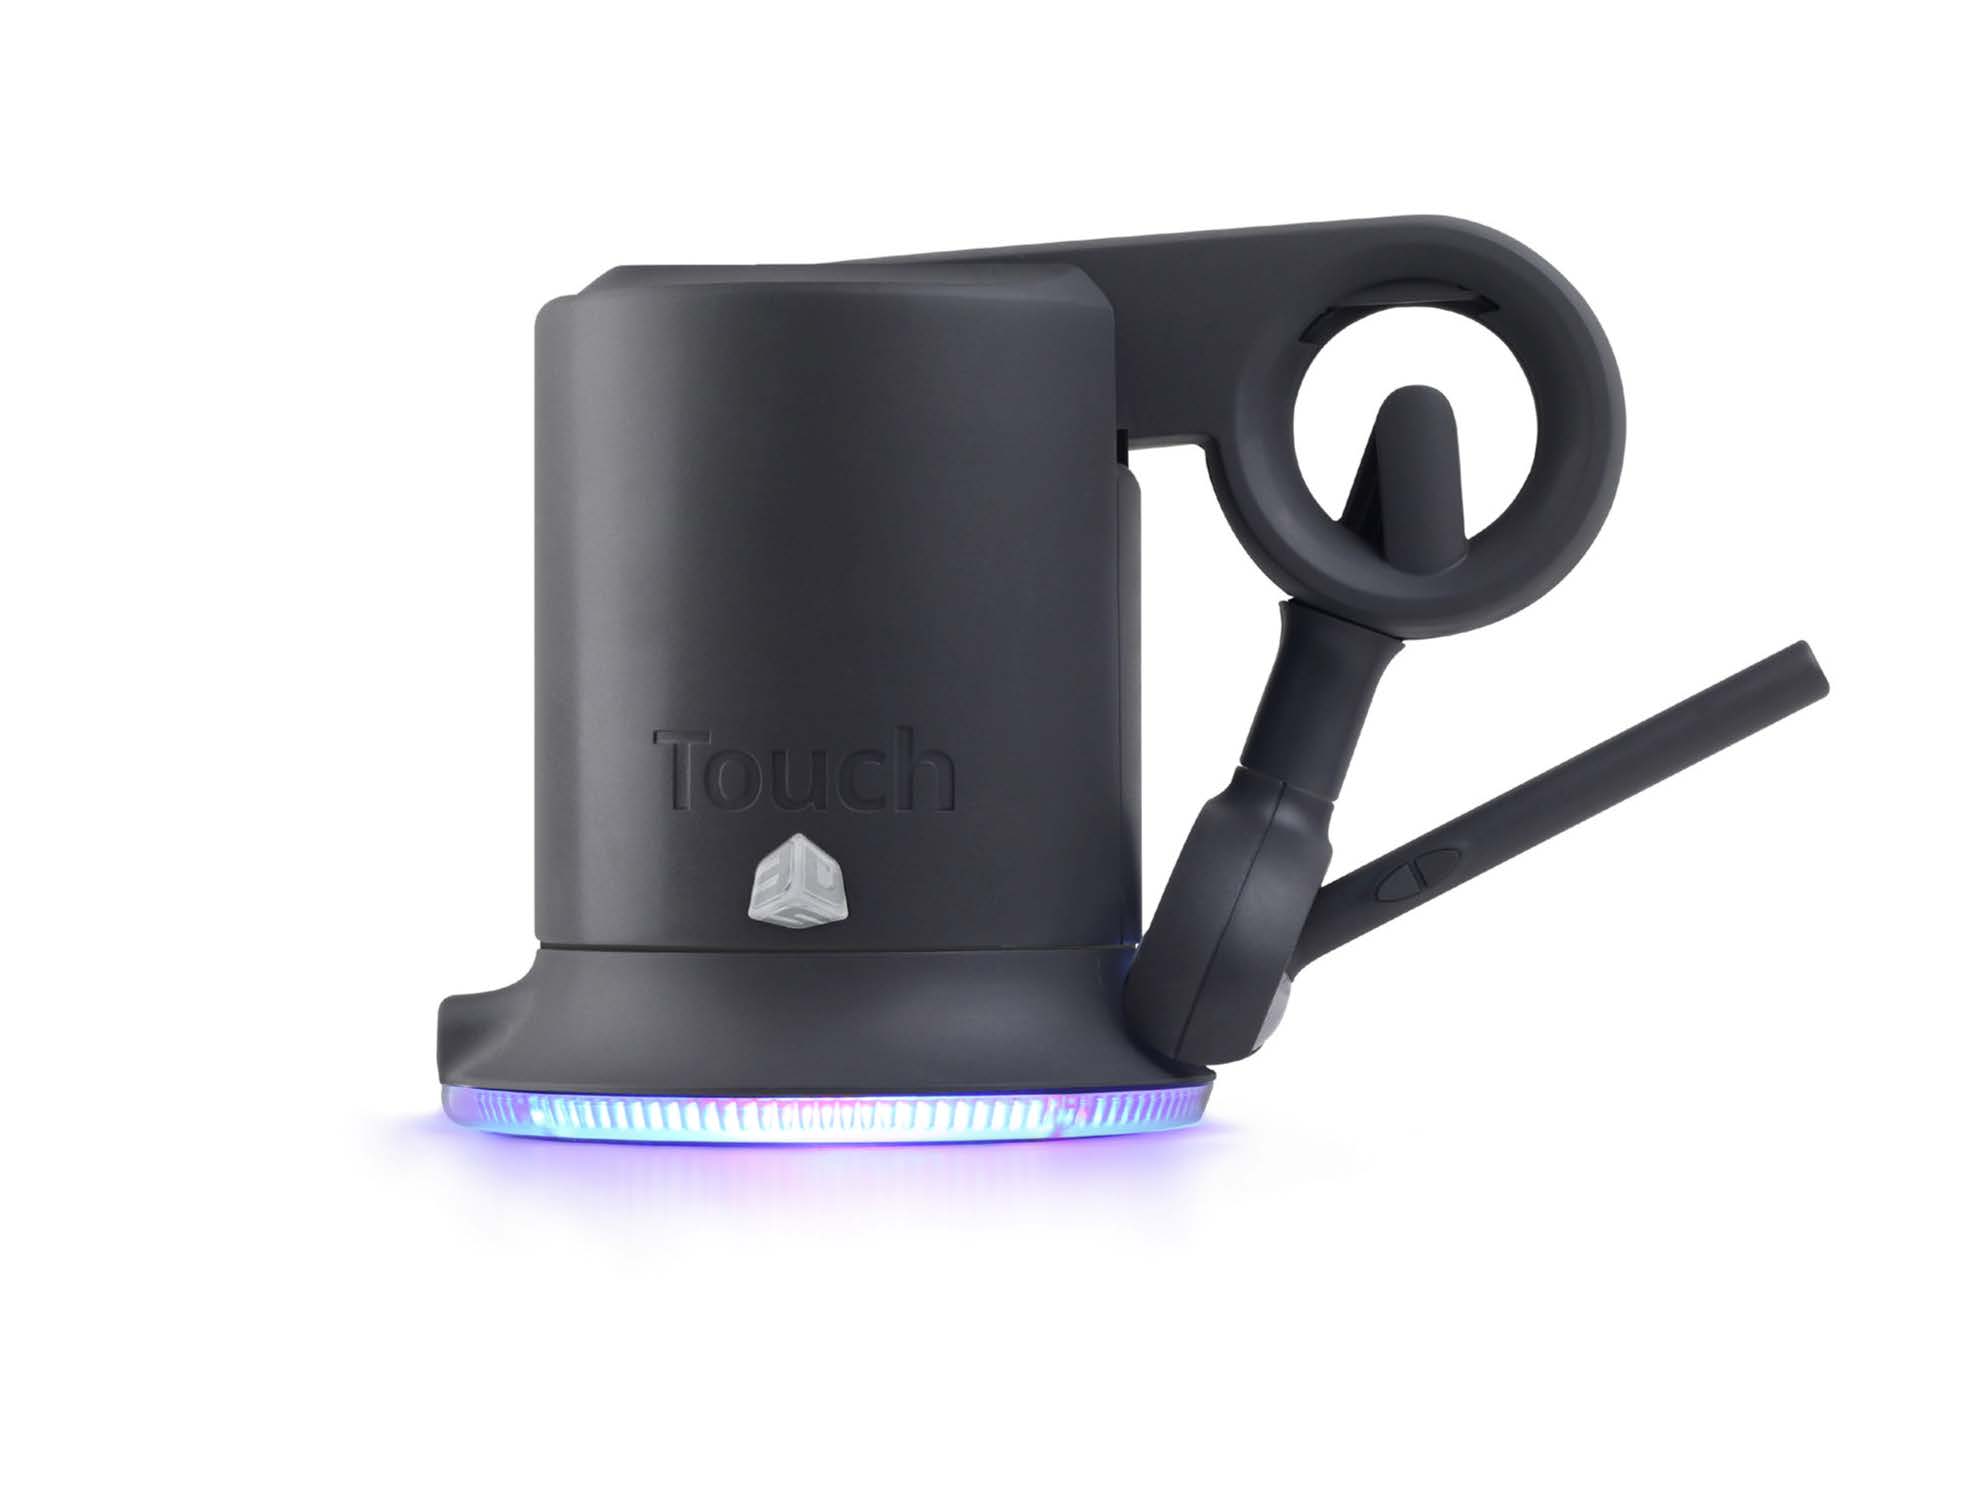
The Touch 3D stylus is the first-ever haptic consumer 3D stylus for intuitive 3D sculpting and design, with instant force feedback that mimics the sense of physical touch. Touch works with 3Ds’ Cubify Sculpt and Geomagic Sculpt, powerful virtual sculpting tools that transforms 3D modeling from a complex, skills-centric design experience to a simple, easy sculpting delight for students, designers, and hobbyists alike.
The Touch 3D stylus features include:
- Ergonomic design and compact footprint
- 6-degree-of-freedom positional sensing
- 3-degree-of-freedom force feedback
- Two integrated momentary stylus switches
- Magnetic stylus-docking inkwell
- USB 2.0 full-speed interface plug-n-play
- Made of metal components and injection-molded plastics
- Instructional LEDs in base and gimbal
Safety
Warning:
Indicates that something may happen that could cause loss of data, damage to equipment, or could cause personal injury.
Safety guidelines
- Follow all safety rules in this section and observe all cautions and warnings in this guide.
- Hardware usage guidelines are provided to assist you in protecting the effectiveness and life of the device. They are not intended as recommendations for the prevention of repetitive stress injury, carpal tunnel syndrome or any other conditions, injuries or disorders; users should consult their own physicians. By using the Touch device, you acknowledge and agree that 3D Systems shall have no liability for any disorder, condition or injury arising from any use of the device.
- Do not open the Touch device. Attempting to open or repair the device by anyone other than a certified authorized service center voids the manufacturer warranty and hardware maintenance contract. There are no serviceable components in the Touch device or power supply. Return to 3D for servicing.
Getting to know the Touch 3D components
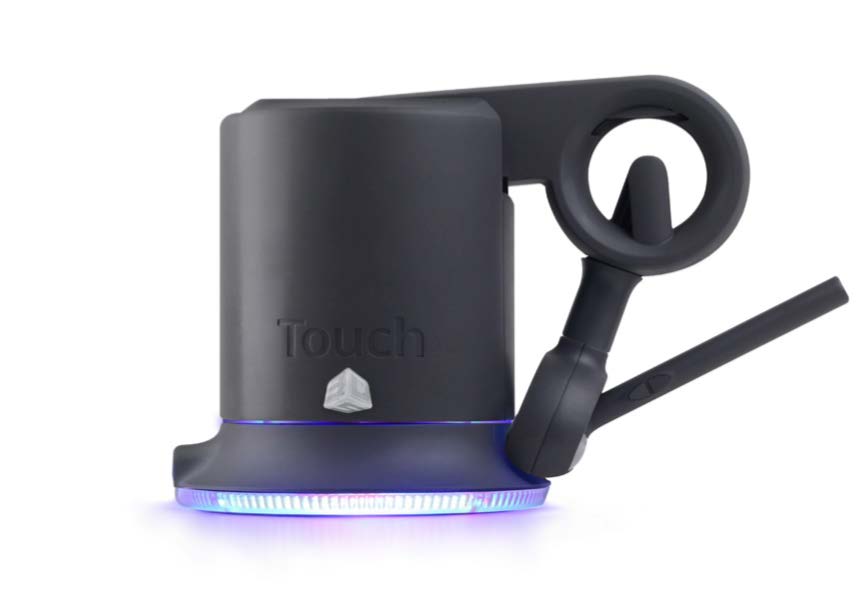
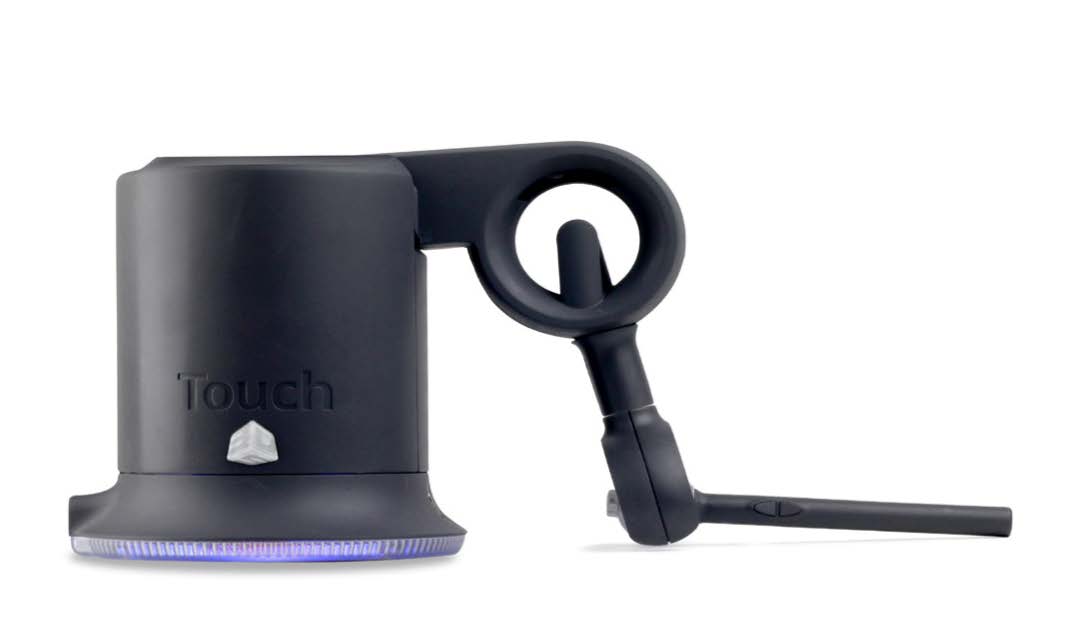
The picture below labels the parts of the Touch device.
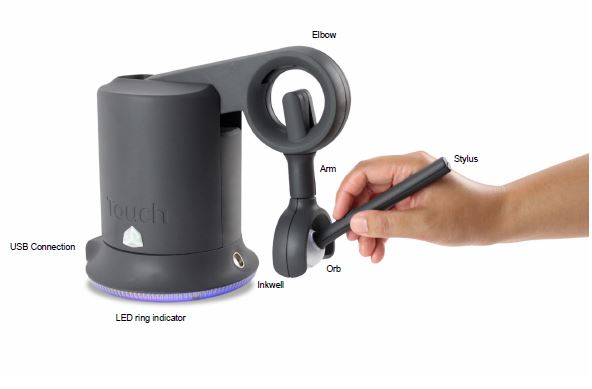
LED (Light) ring indicators
The LED ring at the base of the Touch will display a different color light depending on the status of the Touch.
- Blue - indicates that the power is on
- White - indicates that the Touch is calibrated or the stylus is sitting in the inkwell
- Green - indicates that the stylus is out of the inkwell and is active within an application
Proper handling and positioning
Warning: Lifting the Touch device improperly may damage it. To reduce the risk of damage, please follow the instructions below
Lifting the device:
To properly lift the device grasp the base of the Touch unit on both sides and lift as shown in the image below.
DO NOT lift by grabbing the stylus or arm. Lifting the unit by the stylus or arm could result in severe damage to the device.
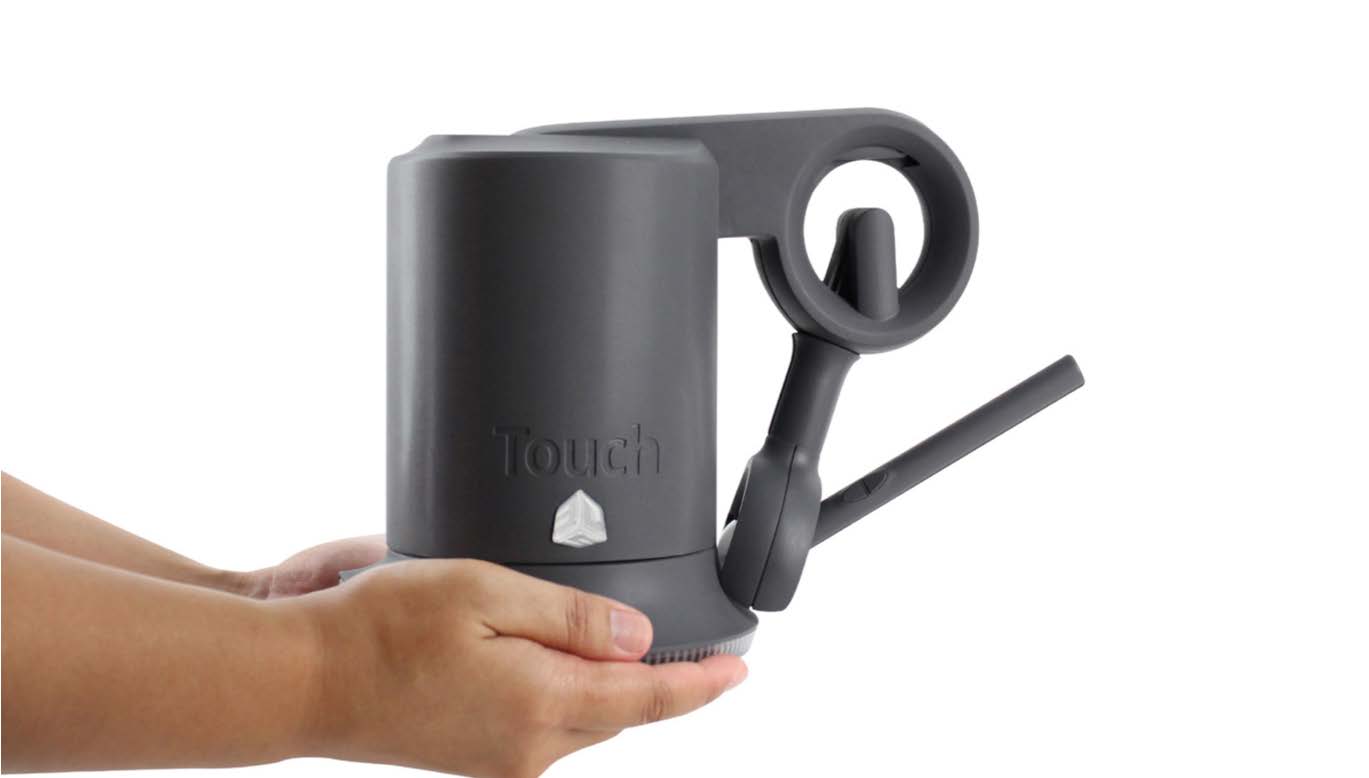
Position hands to securely lift the device.
Protecting the device from damage:
It is best to place the device firmly on the desktop and away from edges to reduce the risk of damage from a direct, unintentional elbow hit.
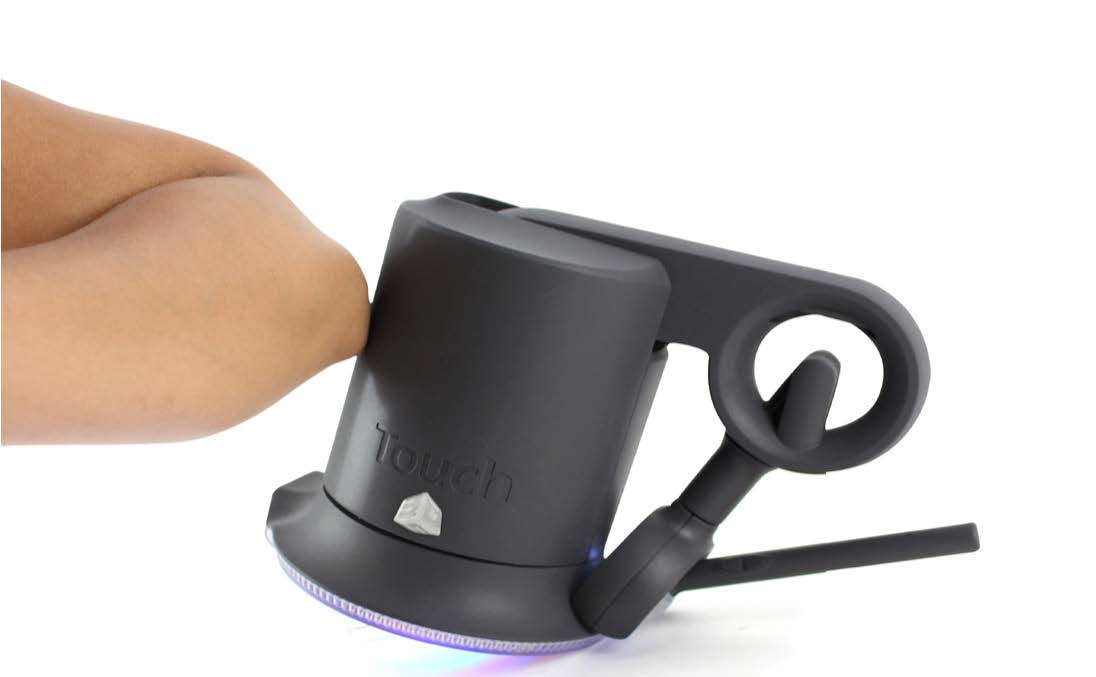
To reduce the risk of damage, keep the device out of the way. Pay extra attention
if the stylus is stored in the inkwell.
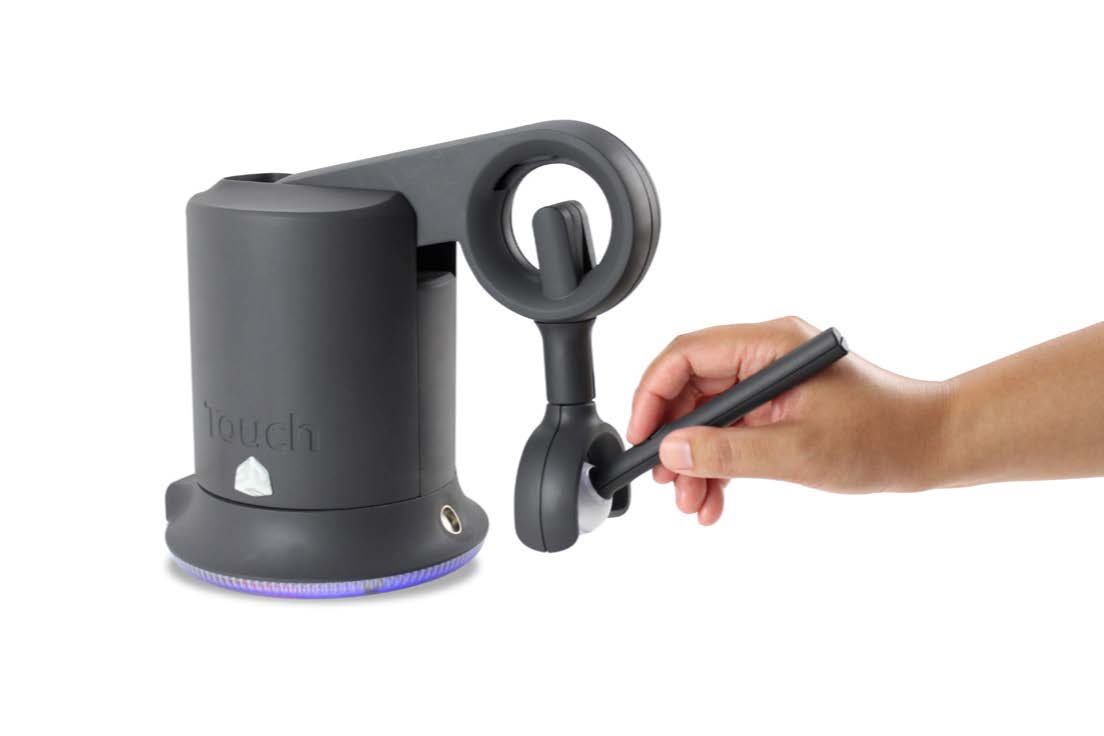
The correct way to hold the stylus:
Grasp the stylus as you would a pen or pencil. Holding the stylus at the bottom, closer to the orb.
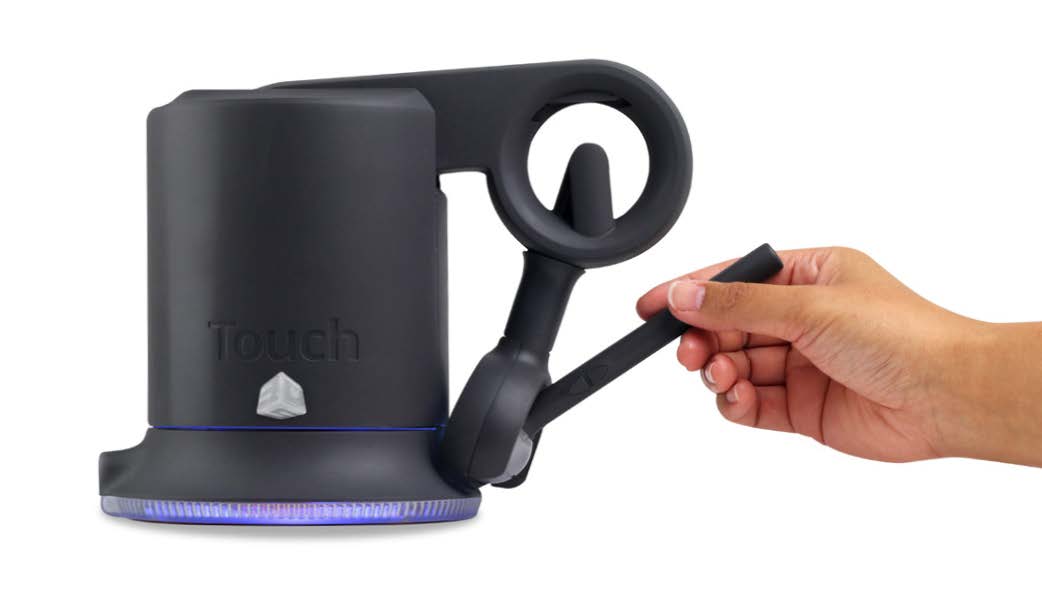
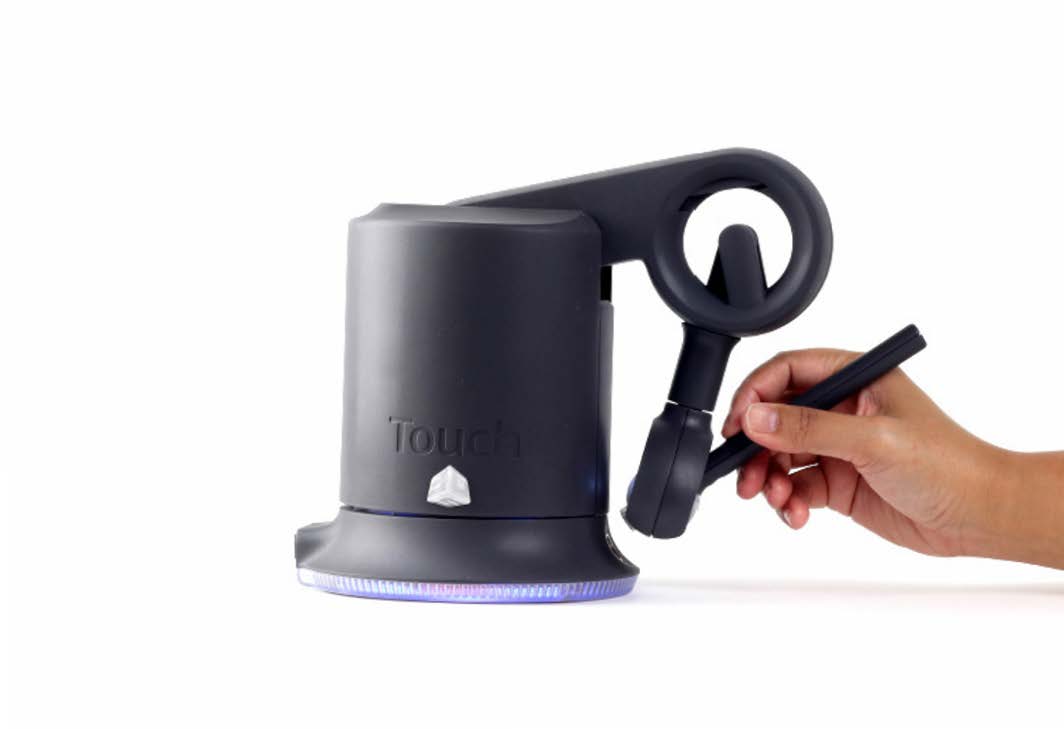
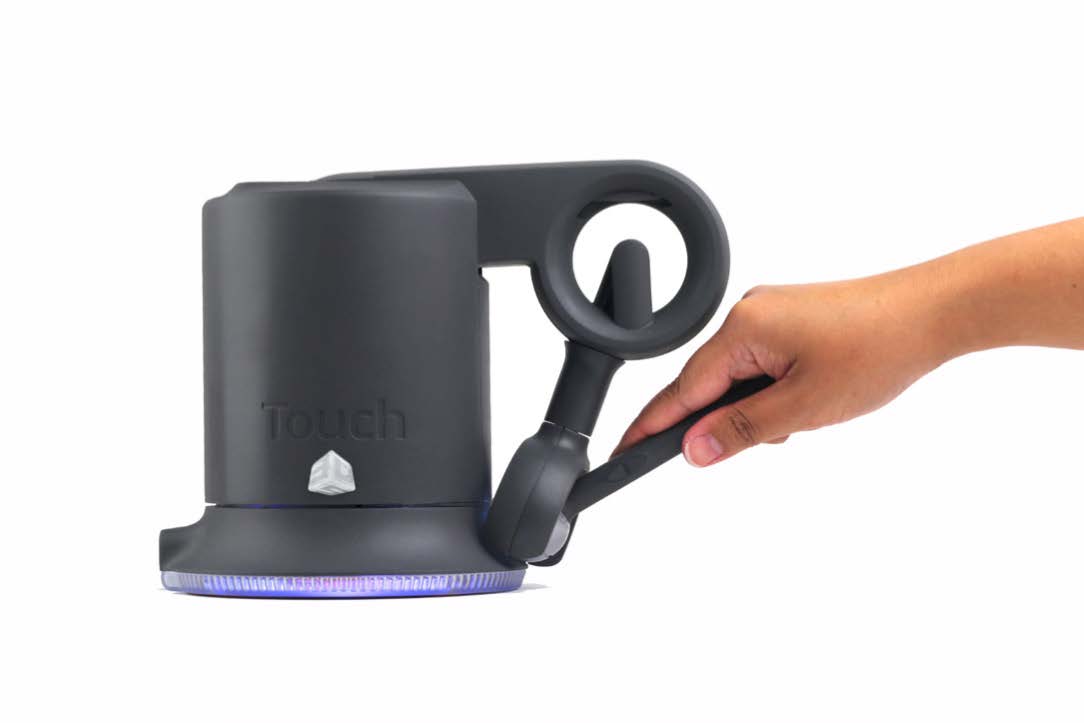
Lifting the stylus out of the inkwell:
Grasp the stylus and lift up to disengage as shown below in the image on the left.
DO NOT attempt to pull the stylus straight out as shown on the right.
Calibrating the device:
The Touch may need to be recalibrated from time to time, particularly if it has lost power or has been moved.
To calibrate the device, place the stylus in the inkwell and start your application. The LED ring at the base of the Touch device will be lit White when the device is properly calibrated.
Storing the stylus:
After the device is calibrated, the stylus may be kept in the inkwell or left resting on the desk.
Storing the stylus in the inkwell might increase the risk that the device will be knocked over or that the stylus will be damaged. The stylus does not need to be stored in the inkwell.
Positioning the Touch device
The correct placement of the device will vary from one user to another. You may want to experiment to find a placement that feels right for you.
- The device should be positioned so that you are comfortable when working with it.
- You should not feel any strain on your wrist or forearm when working with the device.
- If you are left-handed, you may find it easier to work with the Touch placed to the
left of the
keyboard. - Remember to take breaks often to stretch your hands, wrists, and elbows.
Using the Touch device
This section introduces you to working with the Touch device and the physical limits of the device’s range of motion. It is important to understand these physical limitations so that you do not inadvertently damage the device by forcing it past its designed limits.
Working in 3D space
We have become so accustomed to using a mouse to move around a computer screen that we don’t think twice as we move our hand around a desk to move the cursor. But there was a time not long ago when this simple task was not second nature; some even found it challenging and were often frustrated as they learned. If you are new to working with a haptic and in a 3D digital space, it may take some time to feel comfortable. Understanding where objects are in 3D space may take some practice before you are able to move and manipulate objects with ease and certainty. Be patient with yourself.
Physical limits of the device
The Touch device has physical limits. When you reach one of these limits you will feel a sudden stop; this is the mechanical stop designed into the device. Forcing the Touch past any of these stops will damage the device. Take some time to become more familiar with the stops of the Touch before using the device by moving the device through its full range of motion.
Moving with the stylus
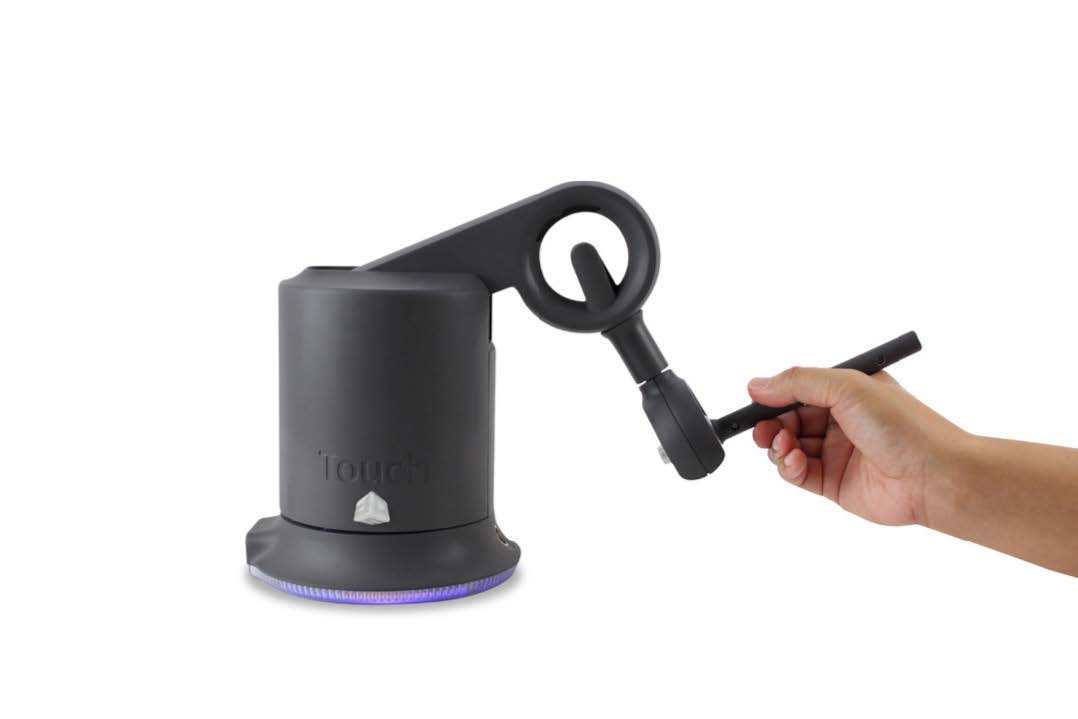
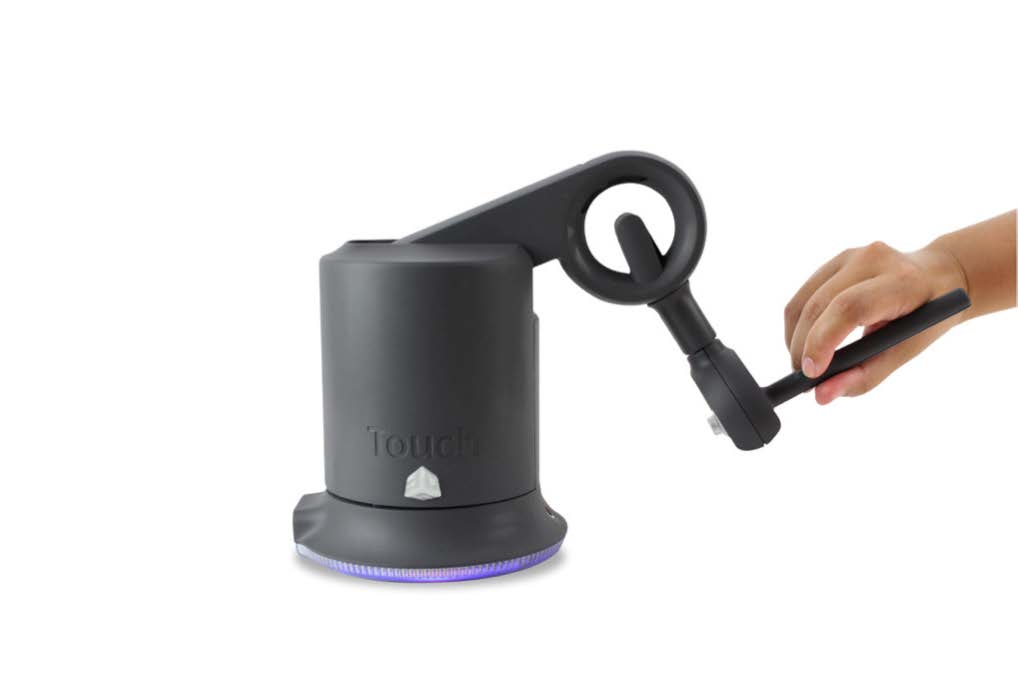
Using the steps below and the accompanying images, try moving the stylus through the different range of motions.
1. Hold the stylus as you would a pencil or pen, with the free end (the end not connected to the device) of the stylus (the eraser end of a pencil) pointing towards you.

2. Gently move the stylus to the left (2.a) and then to the right (2.b).
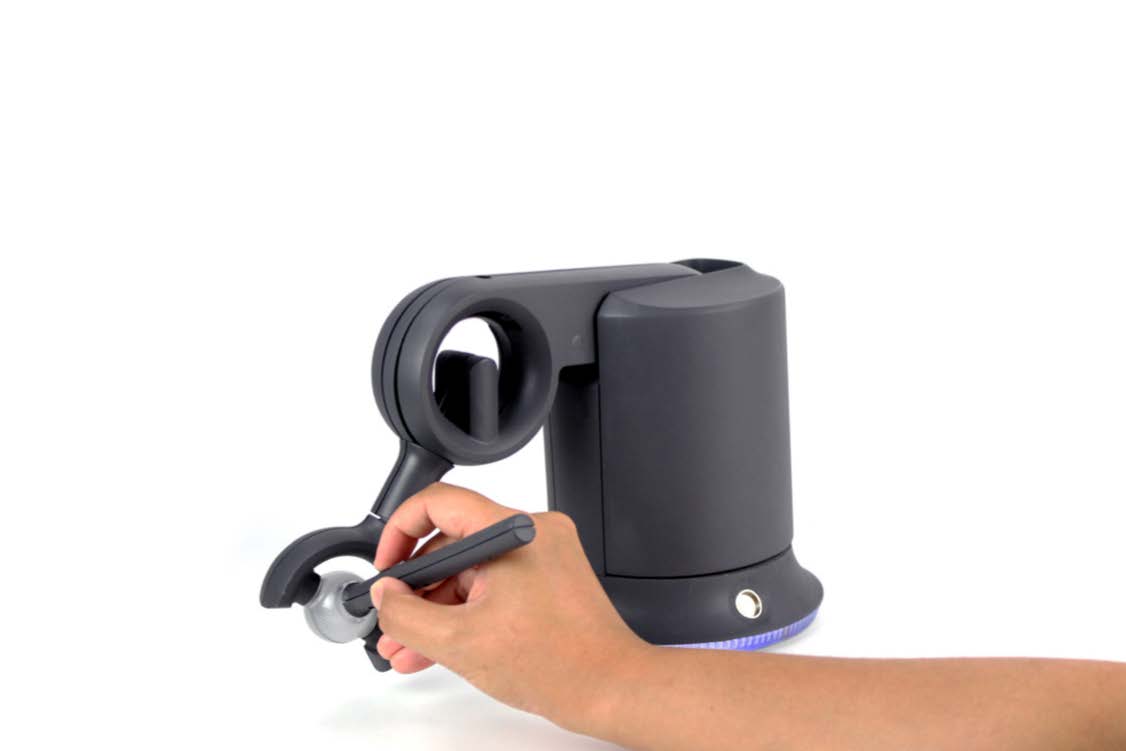
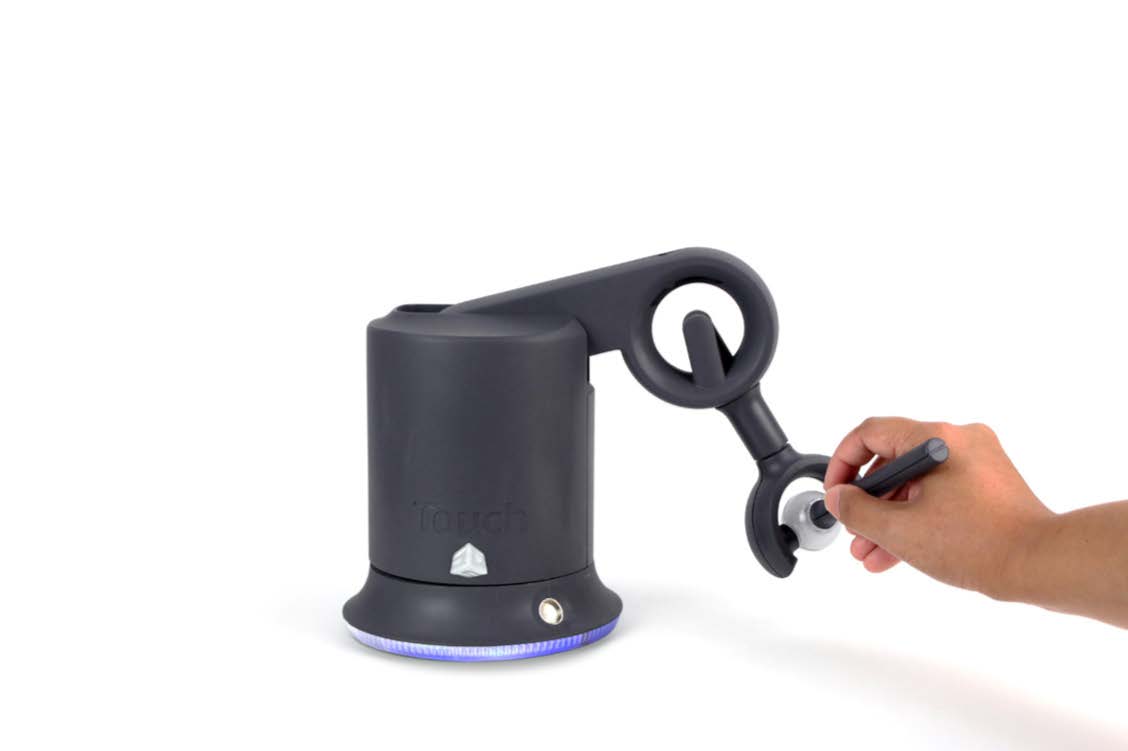
3. Move the stylus up (3.a) and down (3.b).
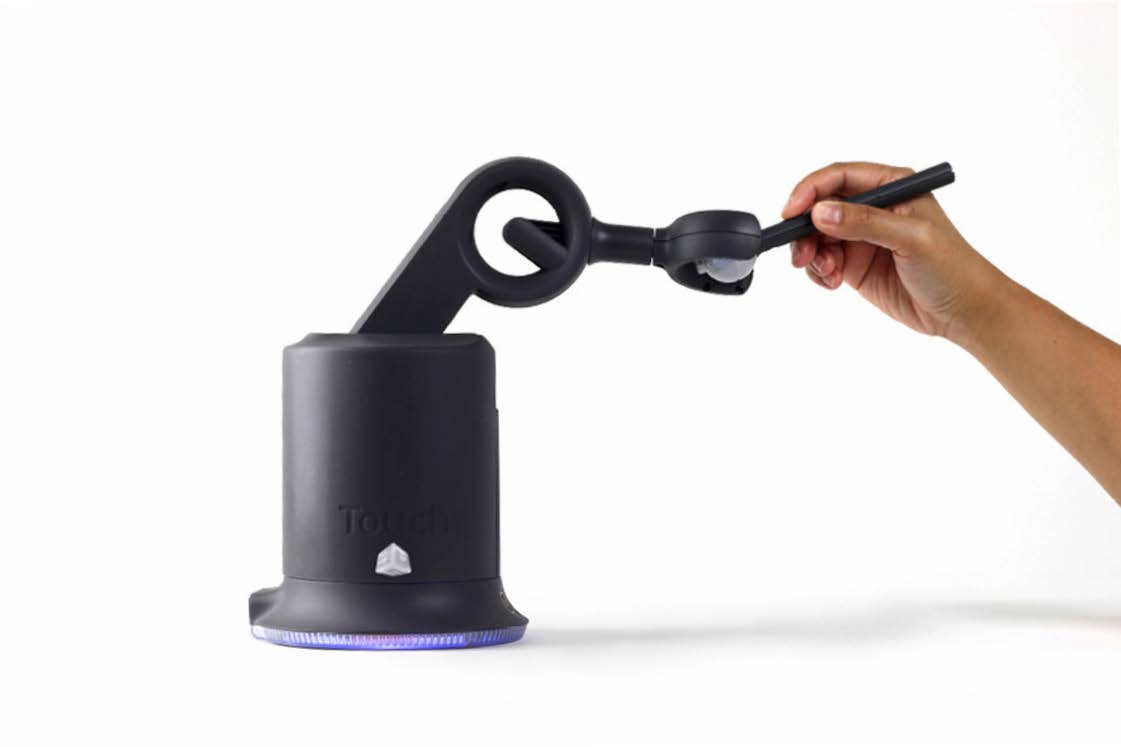
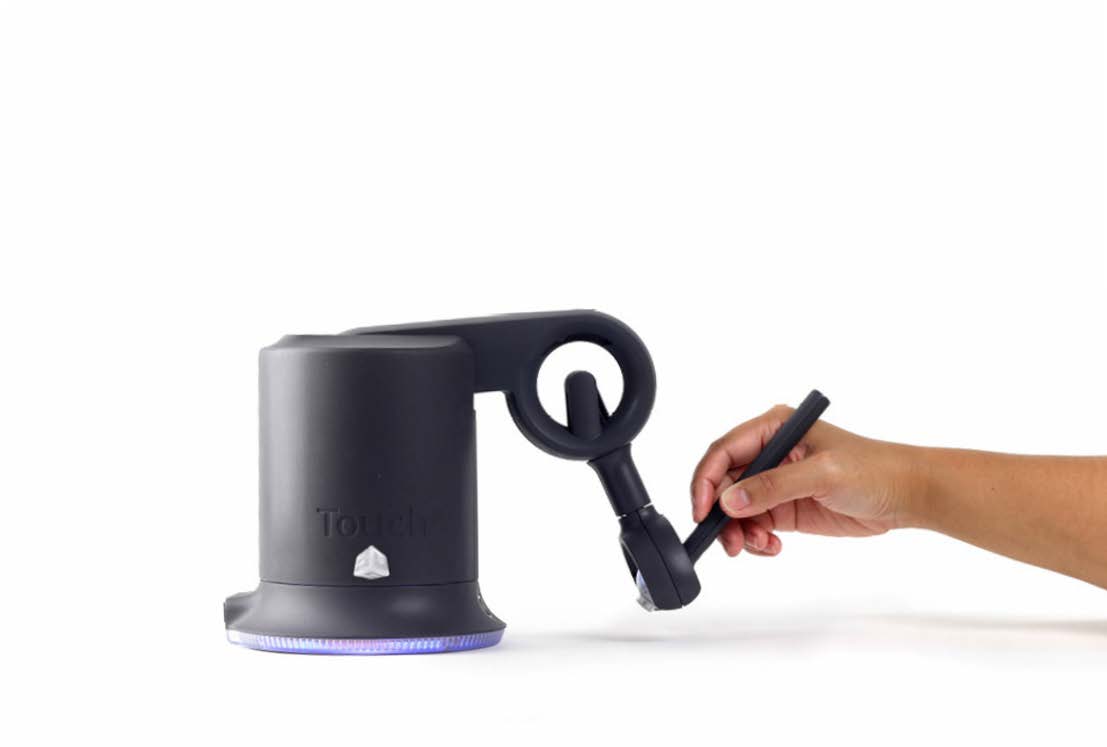
4. Move the stylus towards (4.a) the device and then away (4.b) from the device.
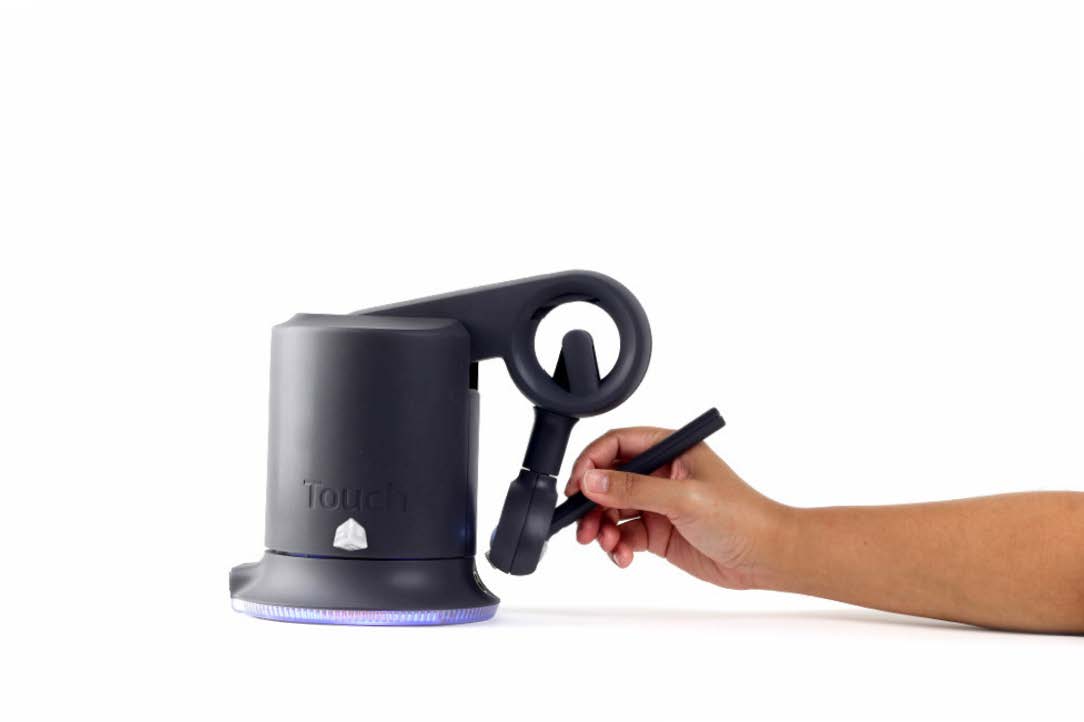
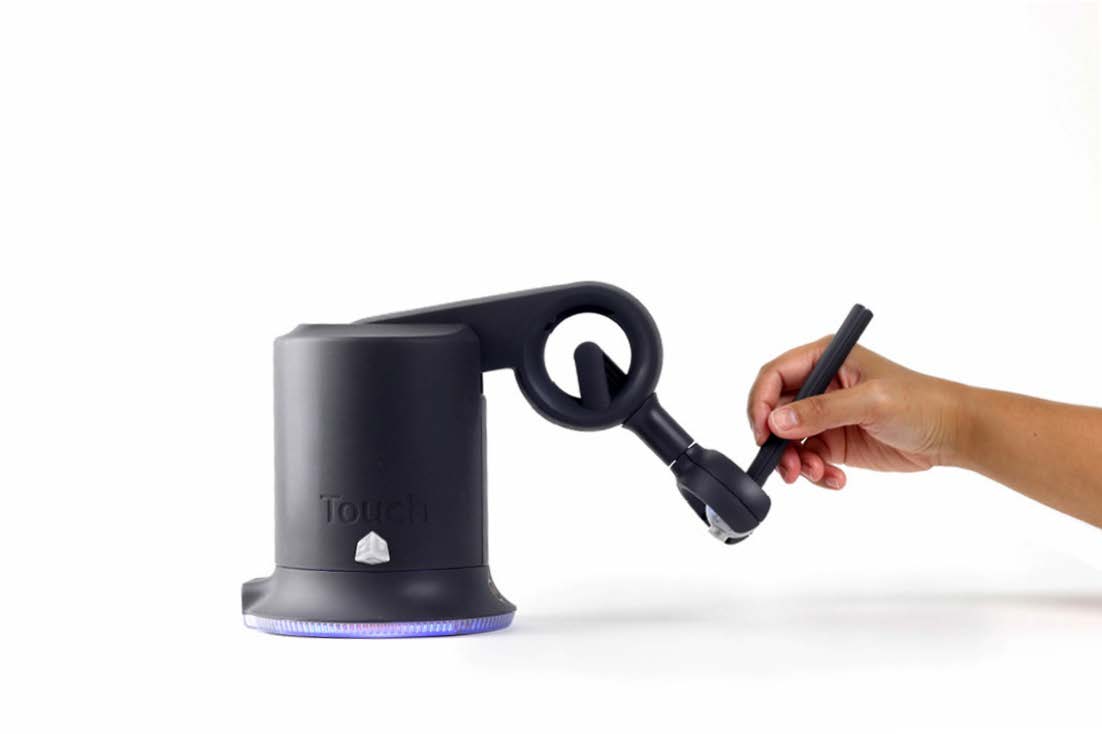
Note: When you reach a physical limit, you’ll feel one of the device’s mechanical stops.
Don’t force the device past any of these stops.
5. Next, perform smaller movements from the orb, moving your wrist:
Rotate the stylus left (5.a) and right (5.b).
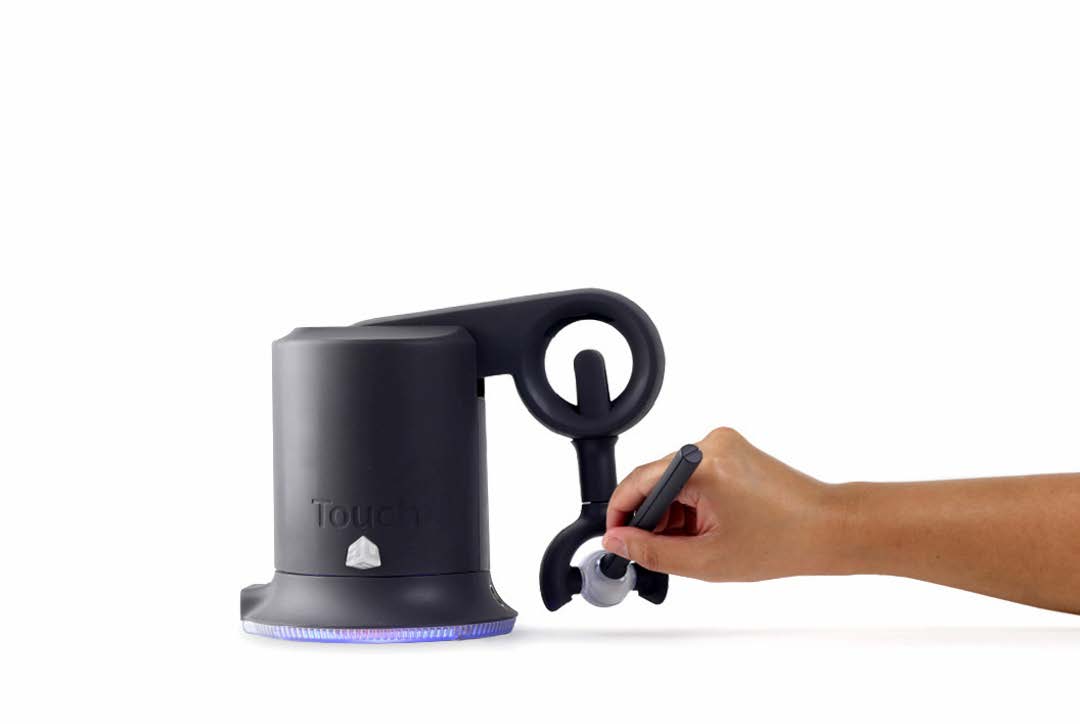
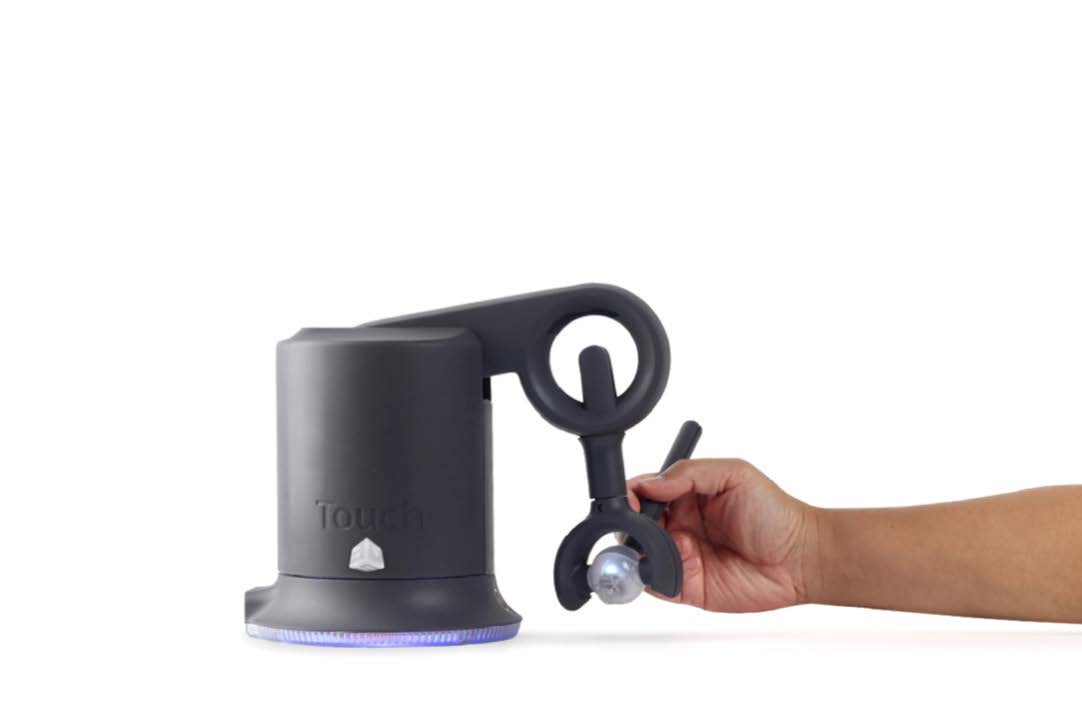
Next pivot the stylus up (5.c) and down (5d).
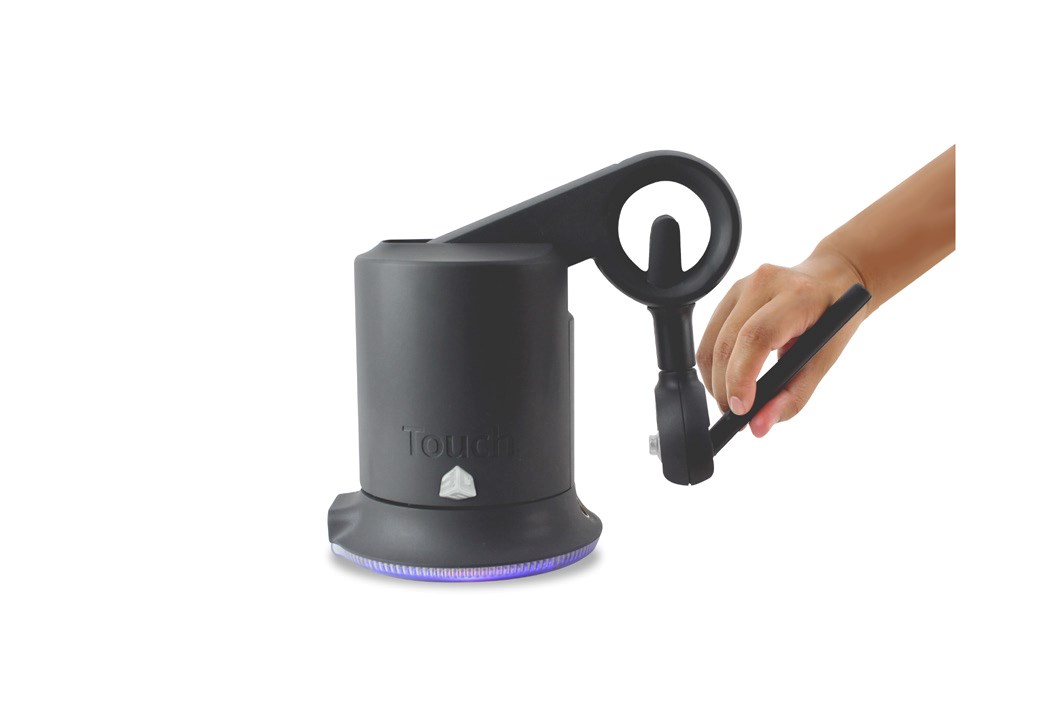
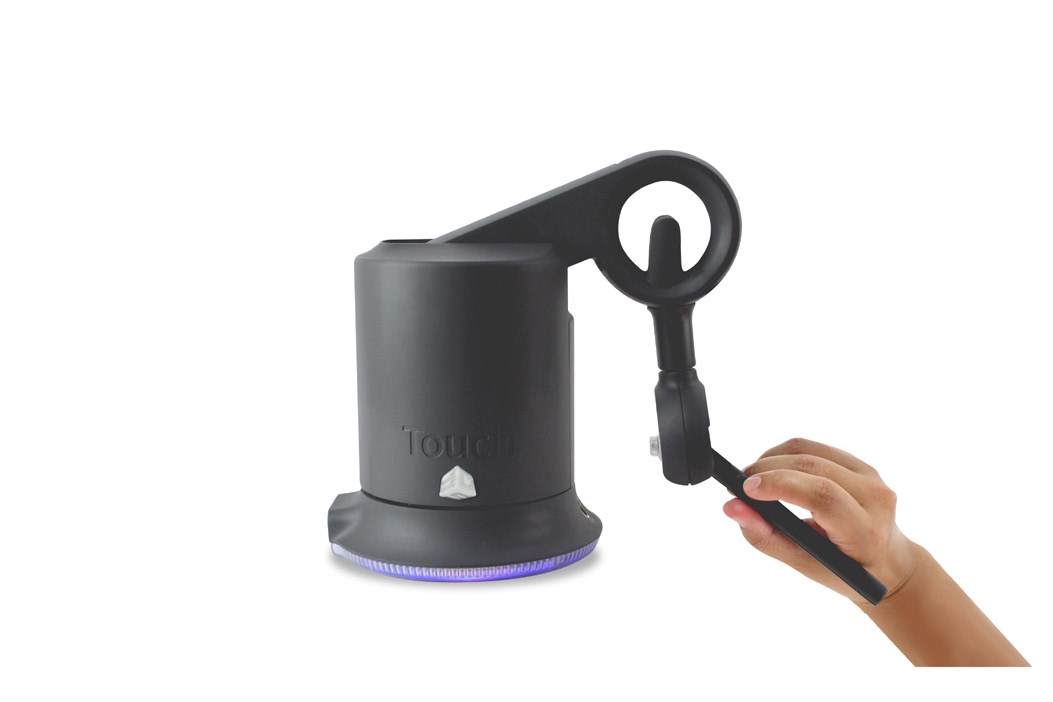
Finally gently twist the stylus back (5.e) and forth (5.f).
Now you should have an understanding of the range of motion of the Touch device and
where its
limits are.
Warning: Always work with the connected end of the stylus pointing away from you. Never rotate the stylus with the point facing you.