Copy Stand Tutorial
Using the Copy Stand to Photograph Oversized Artwork
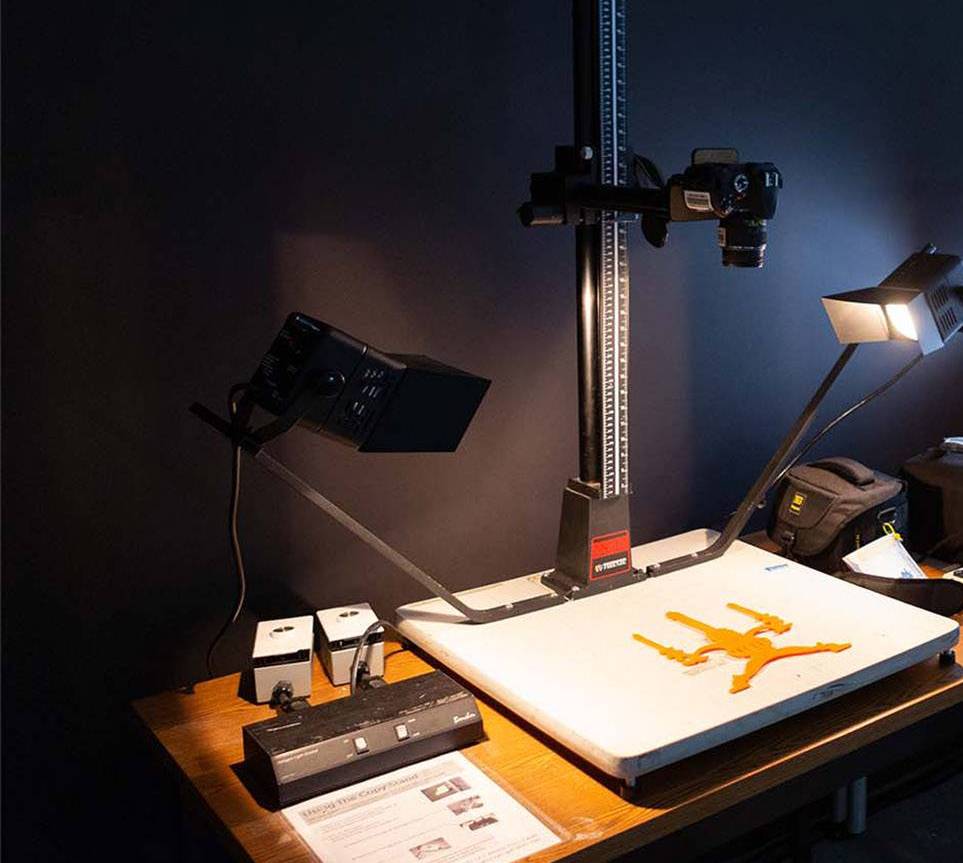
Copy stand provides a great way to photograph 2d (flat) oversized art work, in addition it can be used as a tool for stop animation.
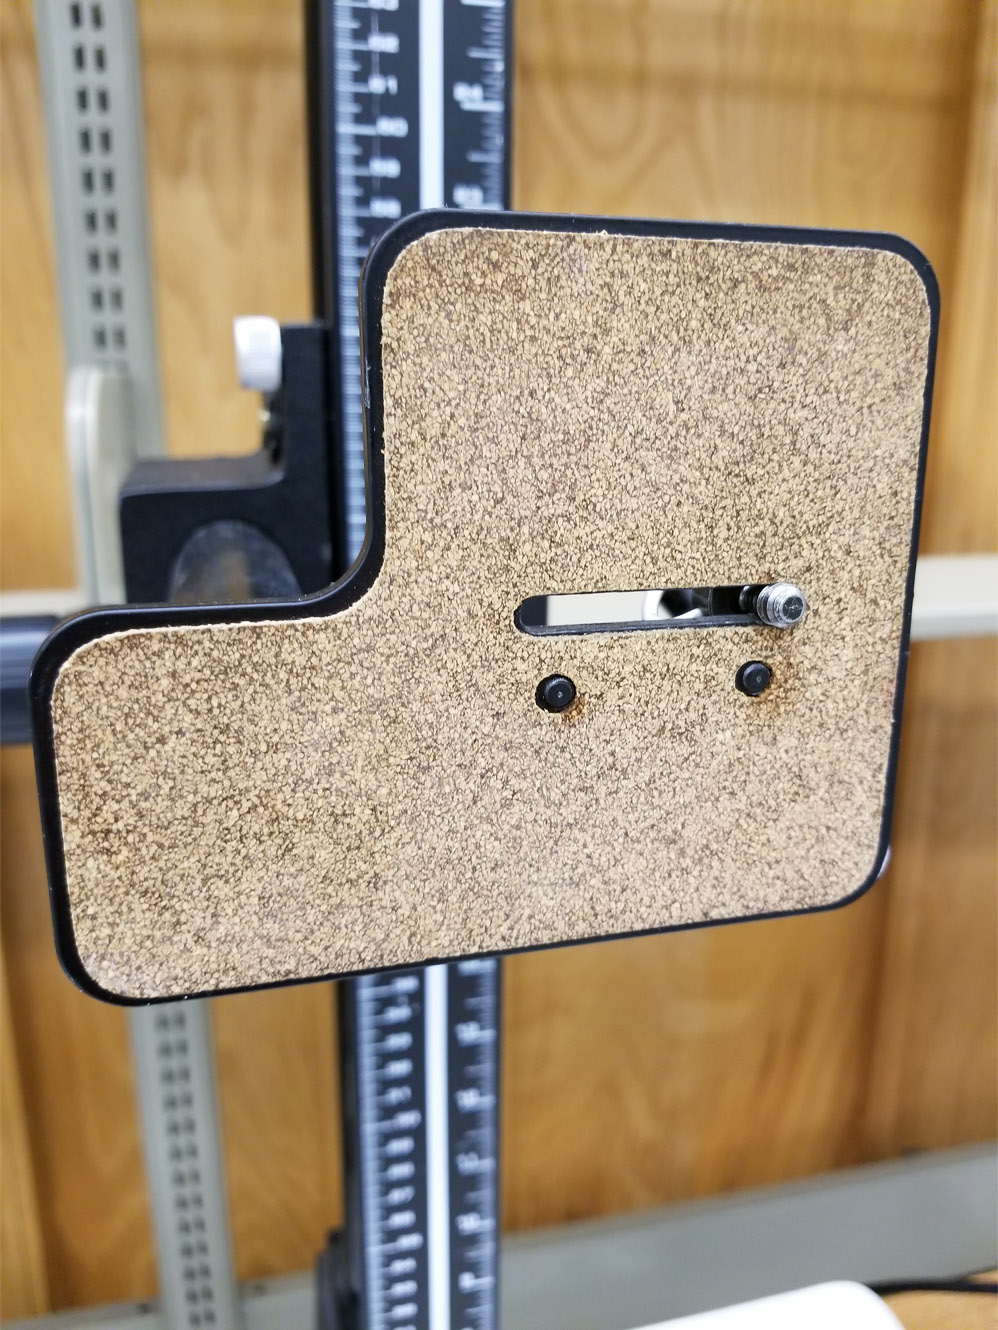
- Attach your camera to the mount for a stable picture:
- The front of the mount will have a screw sticking out to align with the bottom of your camera (img 1).
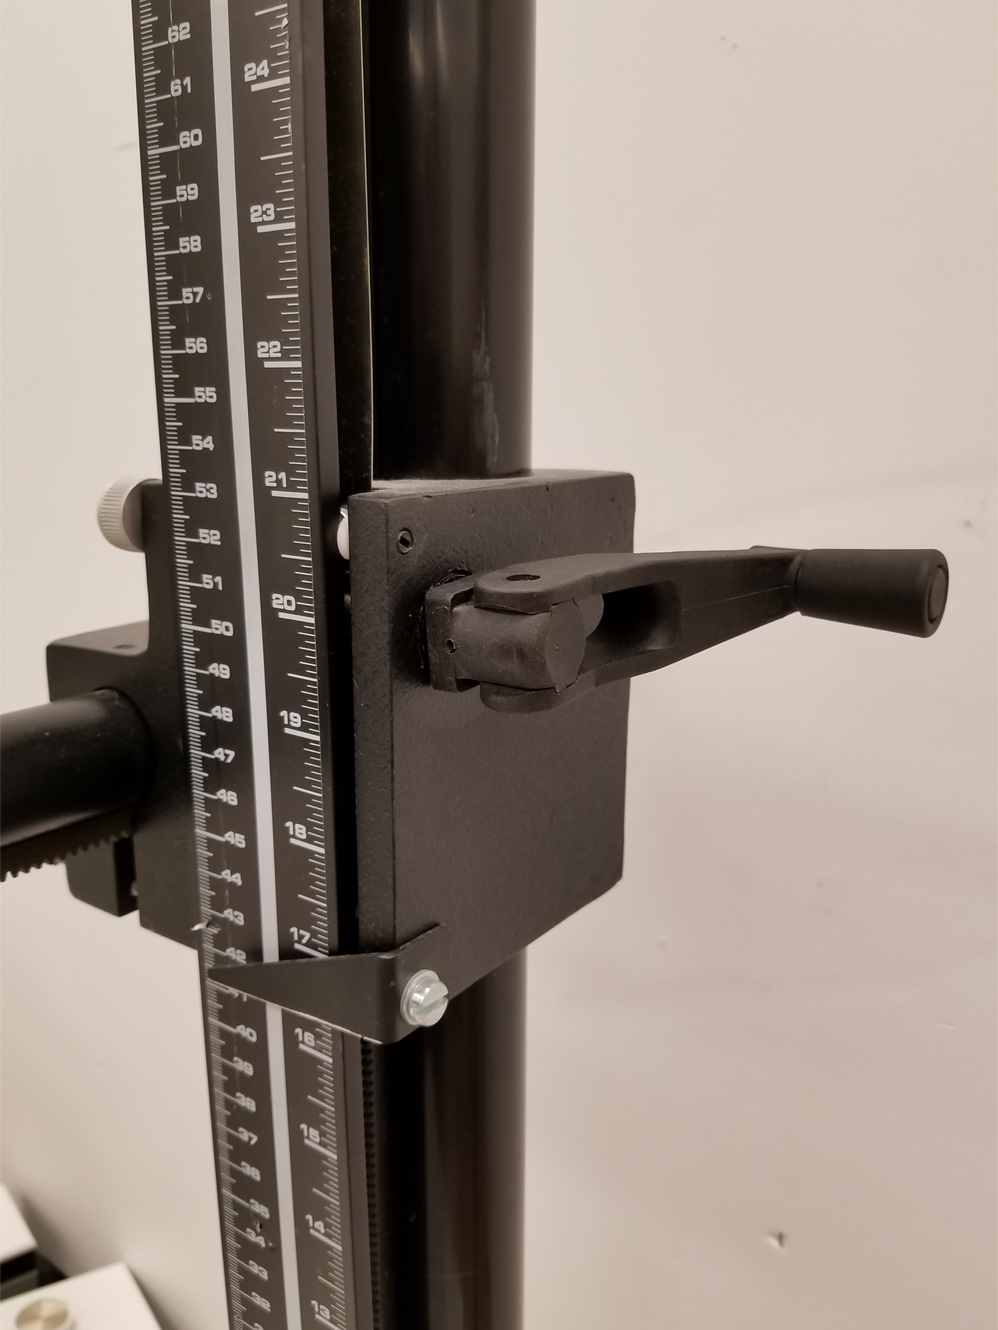
- Using the mount screw, affix your camera to the mount by turning the screw on the back end of the mount (img 2).
- Using the hand crank, adjust the height of the camera mount in relation to your photo subject (img 3).
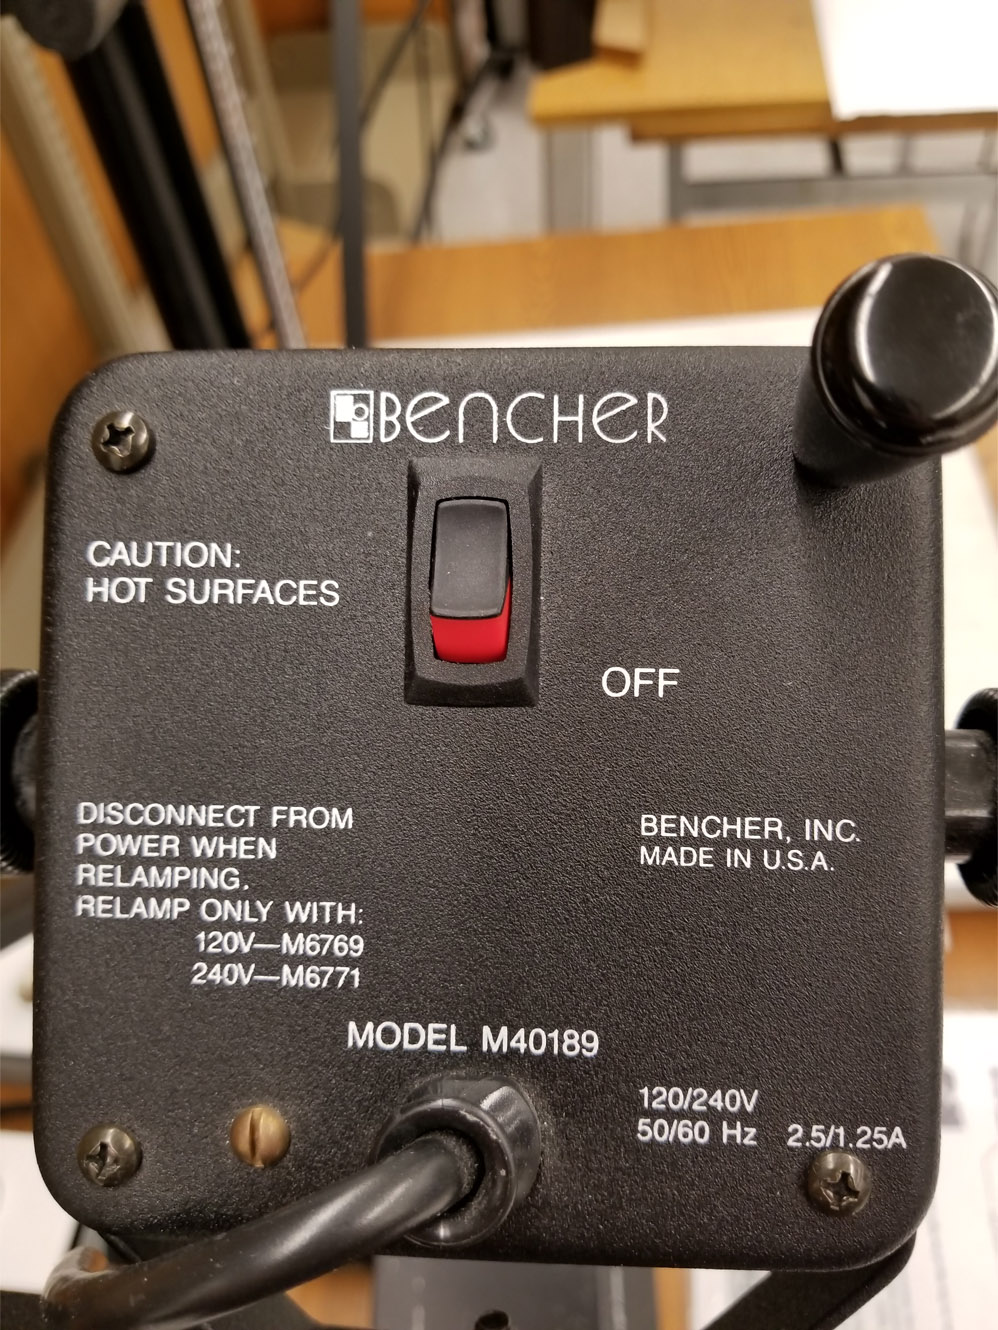
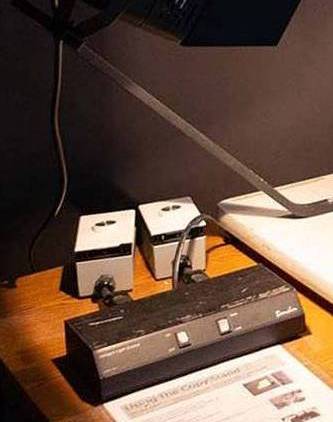
- Locate the lighting switches on the Copy Stand and flip them into the ON position (img 4 and 5).
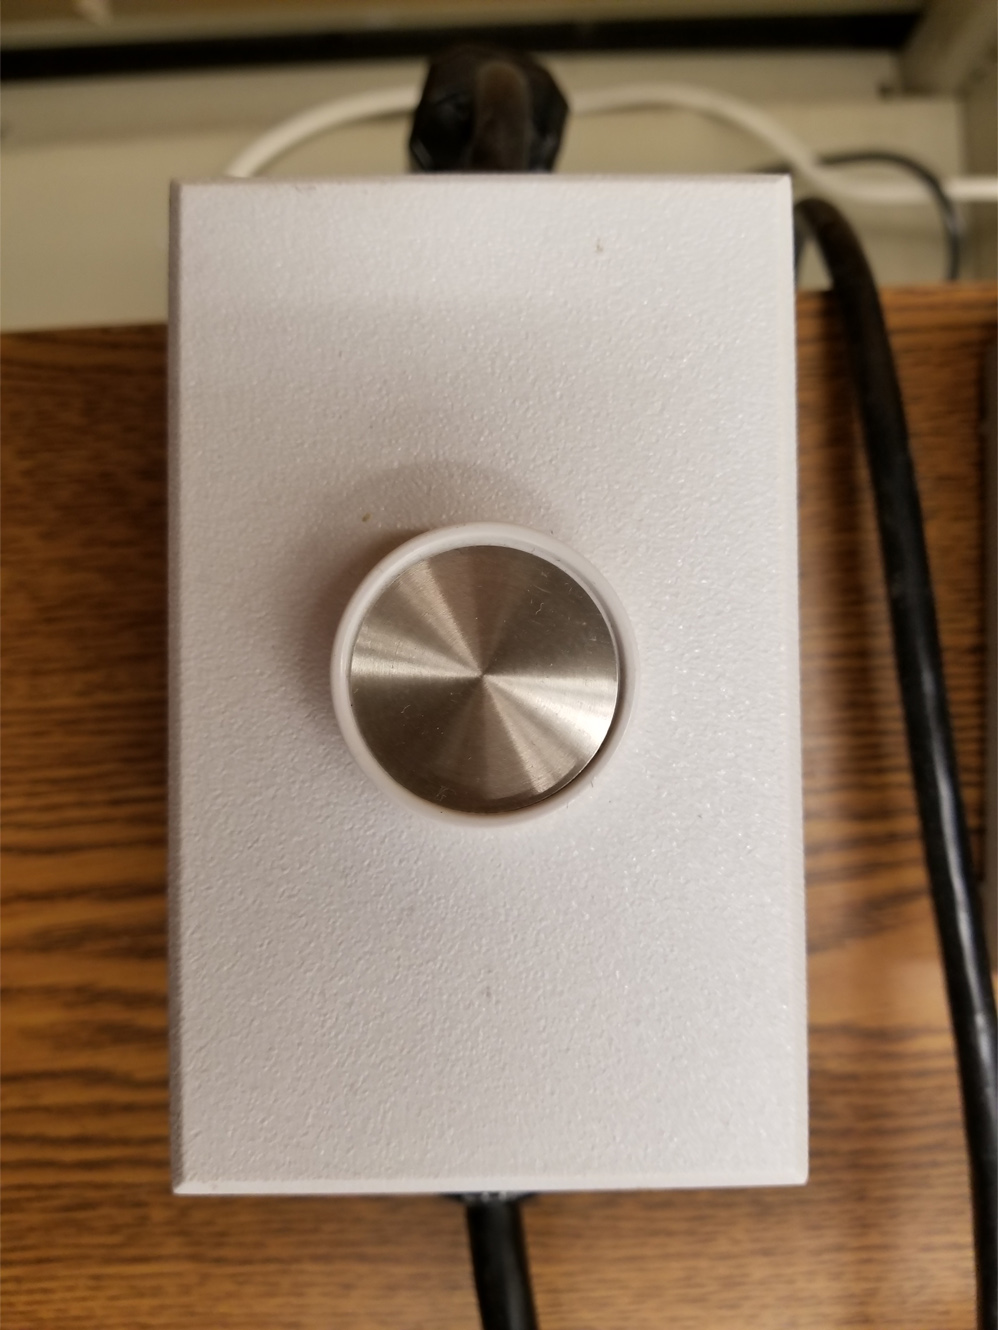
- Locate the light dimmer control knobs to adjust the lighting for your subject (img 6).
Make sure to light your subject evenly to avoid washed out or dark areas. Remember that the brightest lighting is not always the best lighting
Caution: The lights can get VERY hot! Remember to turn the lights off when you leave.