ELMO Projector Tutorial
Using the ELMO to Project or Enlarge Artwork
ELMO Visual Presenter is a document camera, that when paired with a projector, allows it's user to display/project images, documents and drawings on a surface. It can be used for enlarging and tracing the projected image.
Setting up the ELMO
ELMO Visual Presenter is a document camera, that when paired with a projector, allows it's user to display/project images, documents and drawings on a surface. It can be used for enlarging and tracing the projected image.
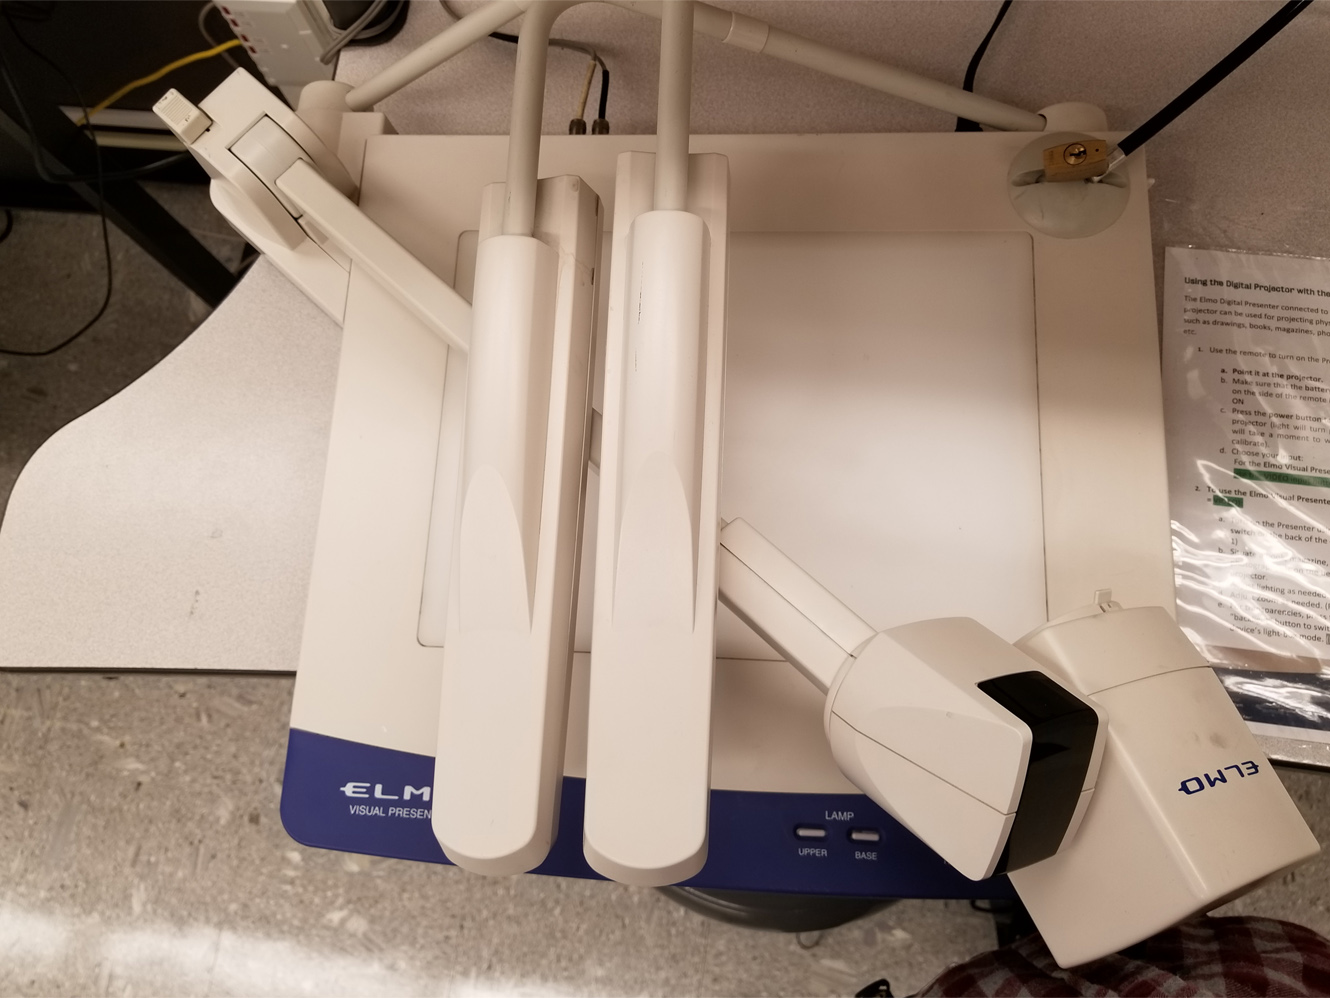
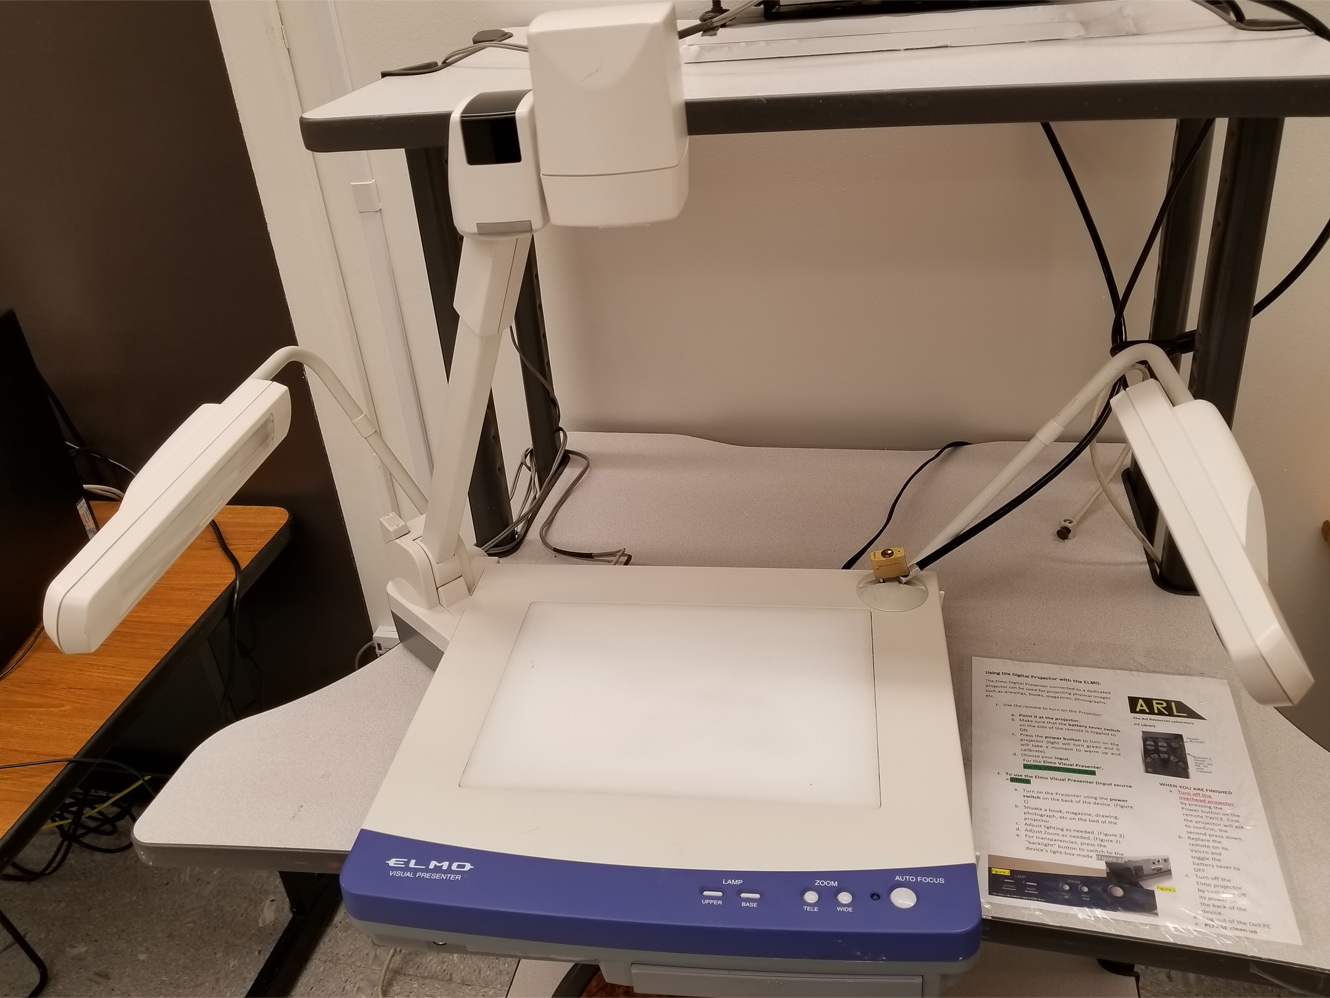
- If the ELMO is folded for storage, carefully unfold the ELMO's illumination arms and extend the camera's pole into the "ready" position as shown in images 1 and 2
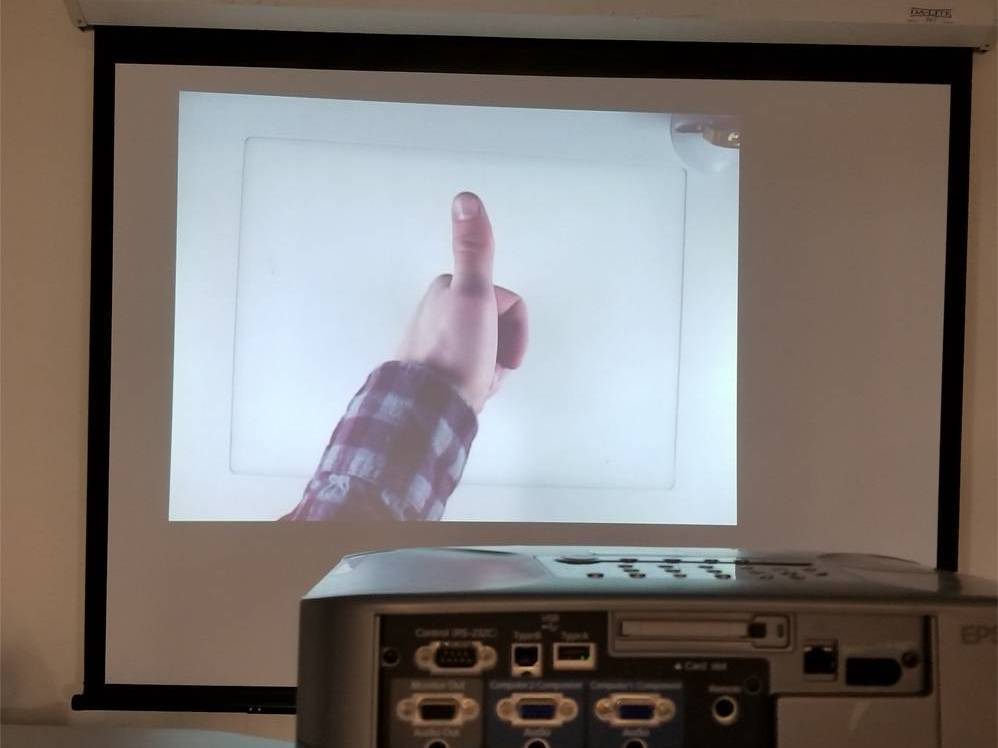
- If the objective is to project enlarged image for photography, pull down the projection screen, and be sure that the projector on ELMO cart is pointing towards the screen (img 3)
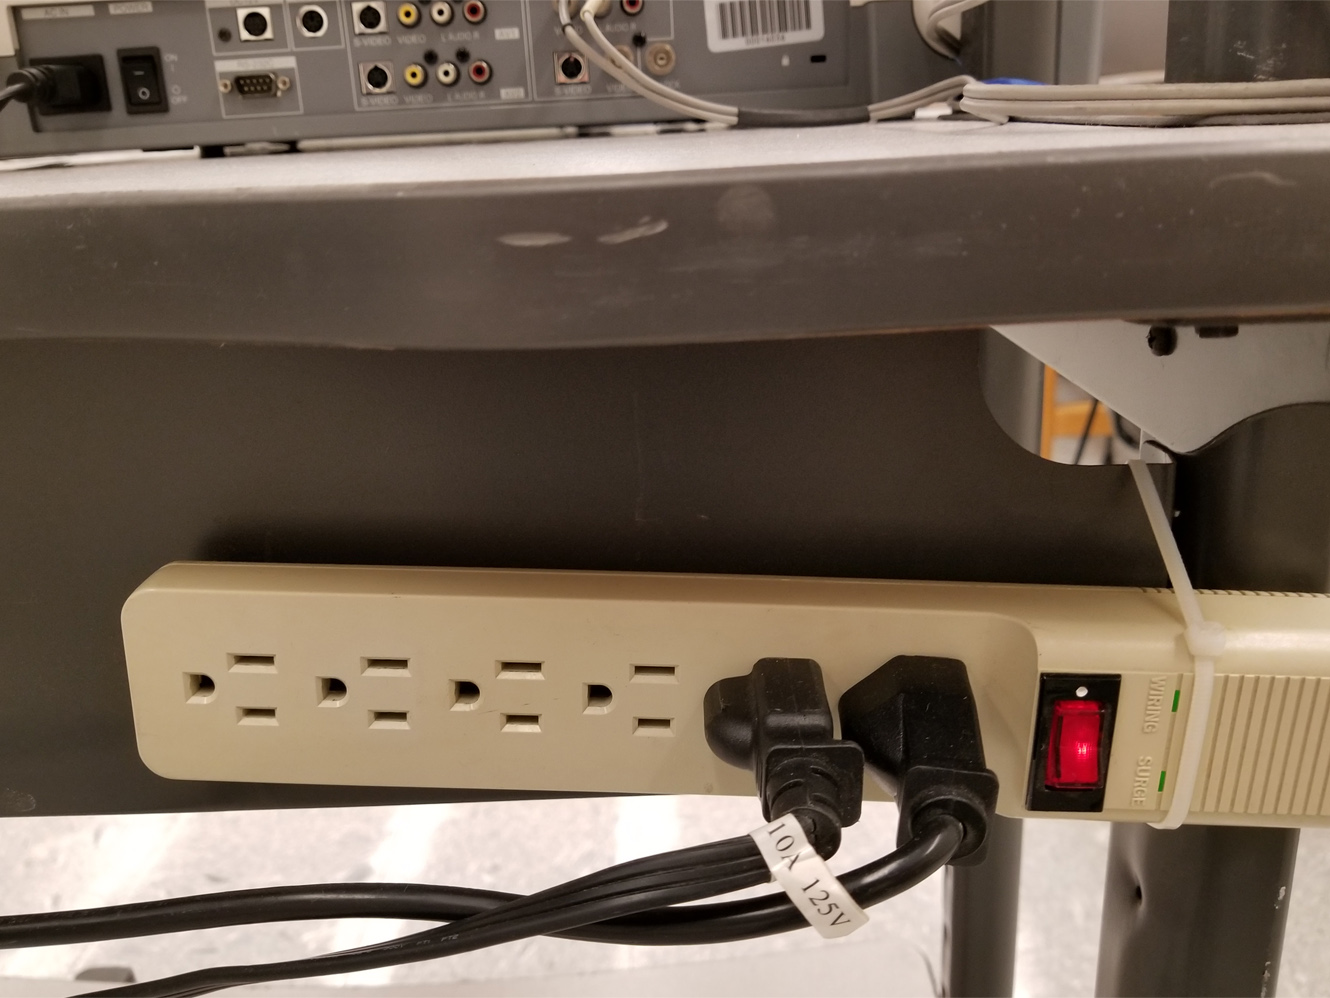
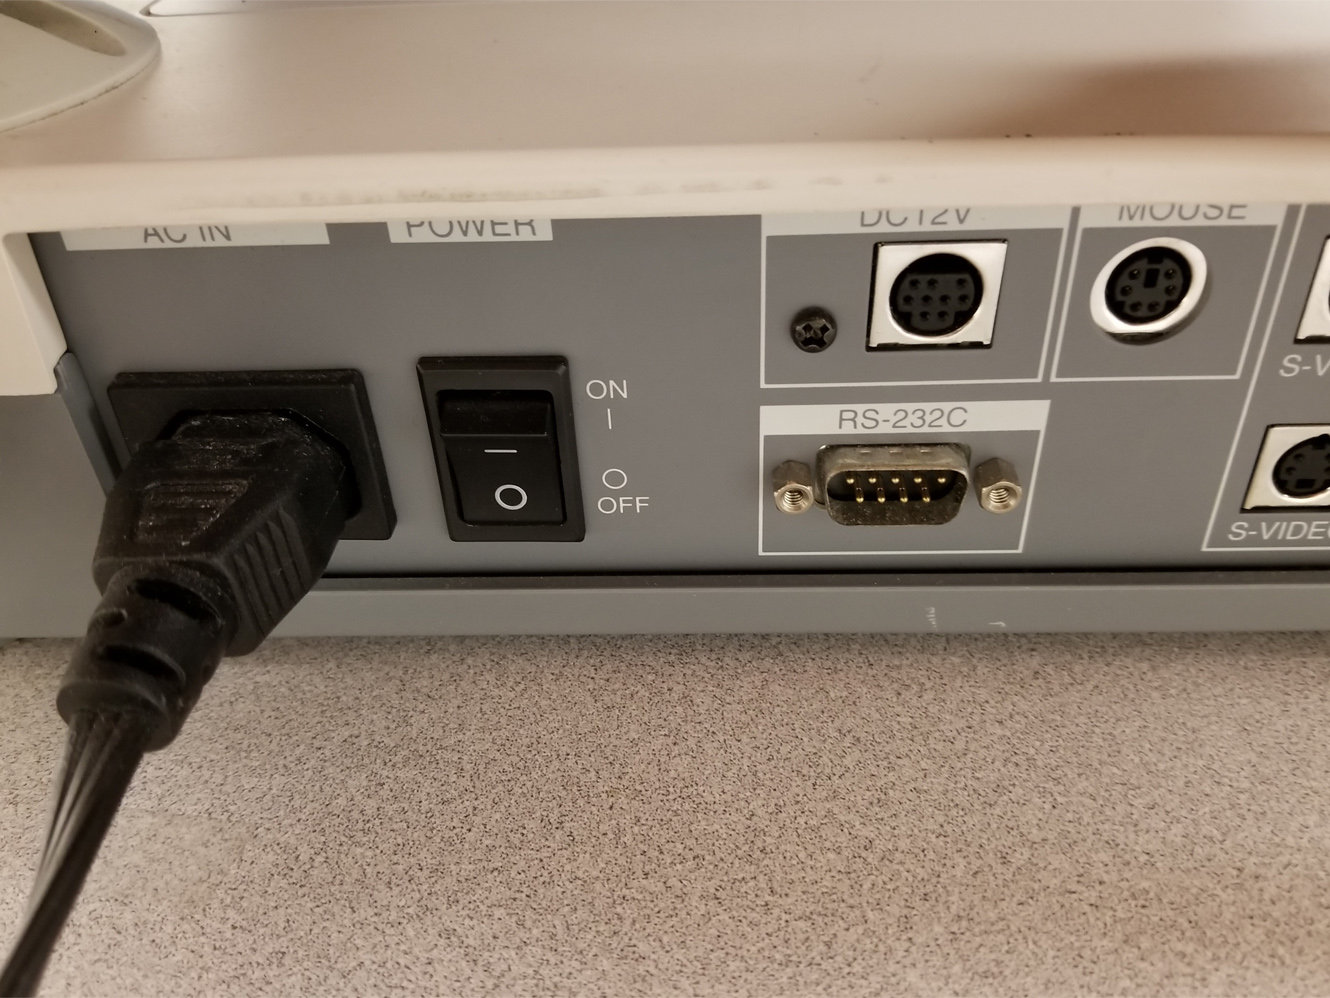
- Ensure that the power-strip attached to the ELMO cart (img 4) is turned on before turning the power switch on the ELMO (img 5)
- If you need to trace the projected image, roll the projection screen up, and use the homasote surface behind - paper and other media can be tacked directly to it.
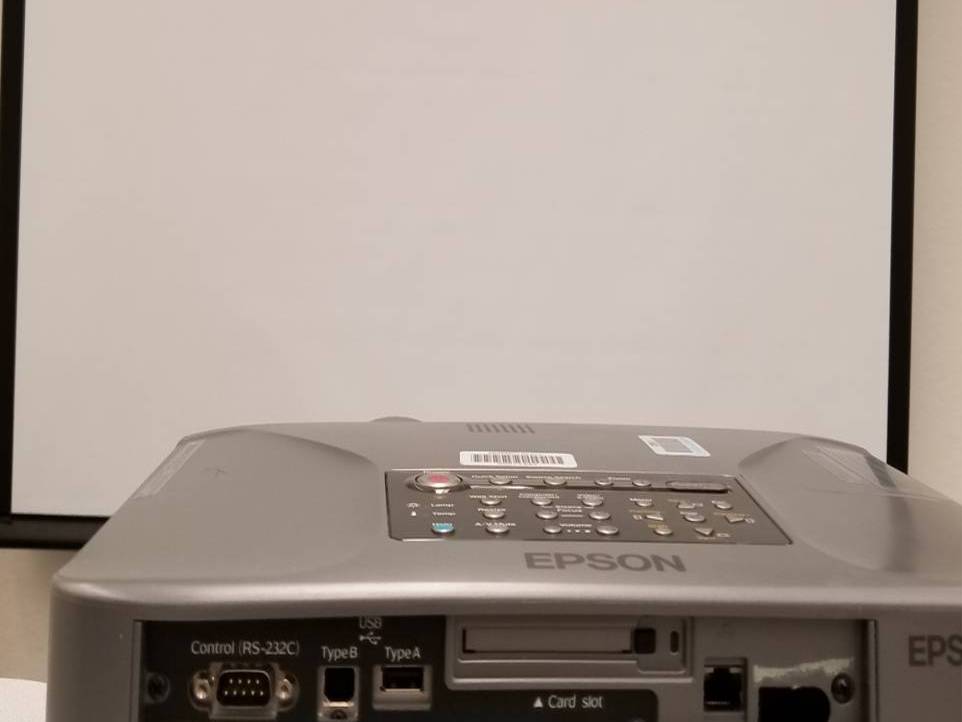
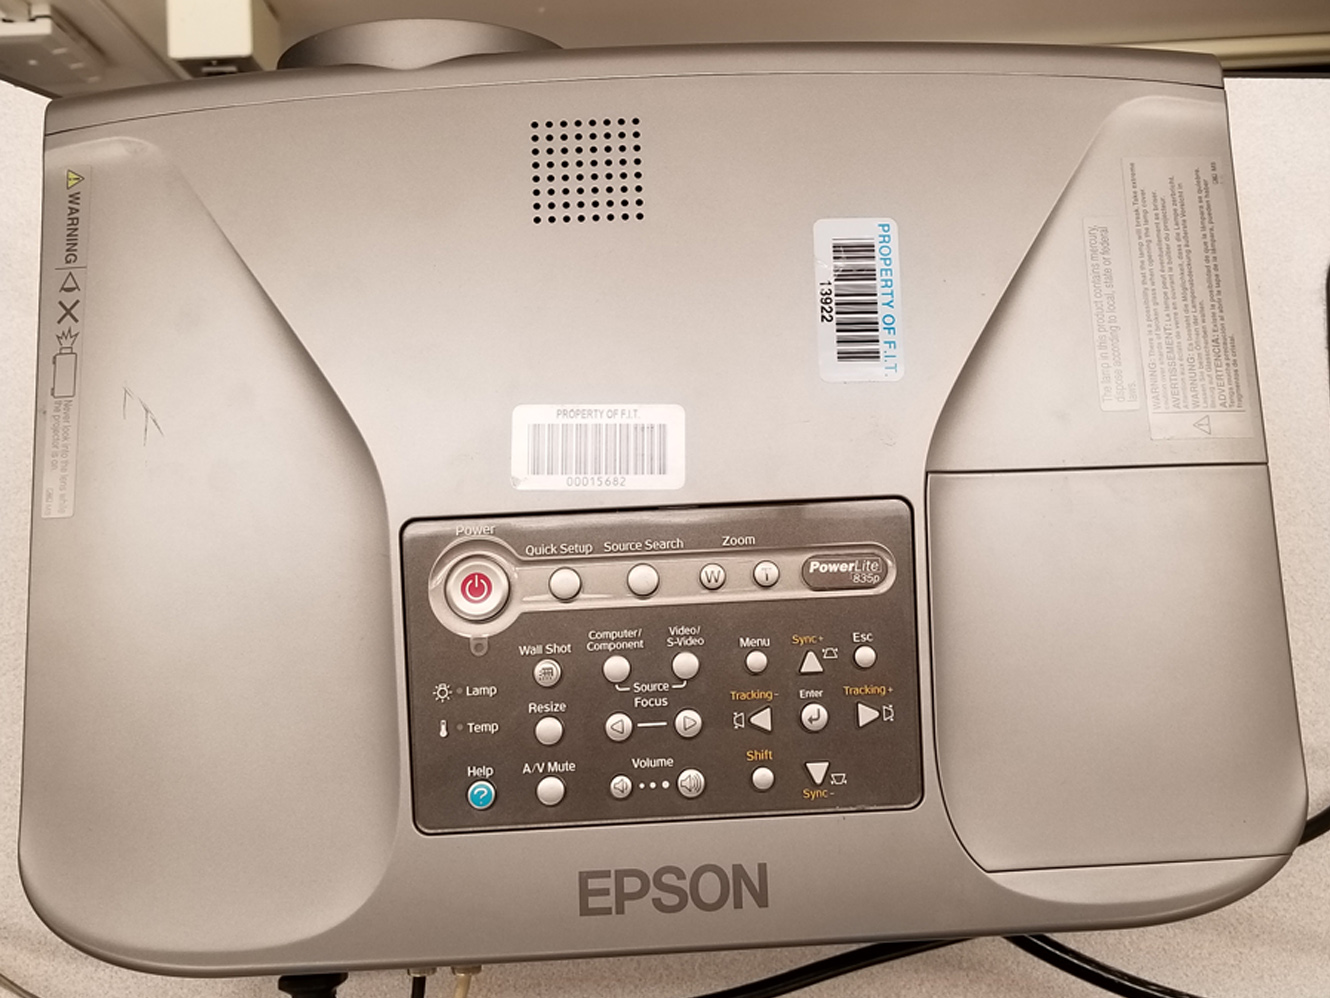
- Press the red button on the top of the Epson projector located on top of the ELMO cart to start the projection of the ELMO.
ELMO Options

The ELMO Document camera offers multiple options ranging from illumination modes shown above, to zooming, and more:
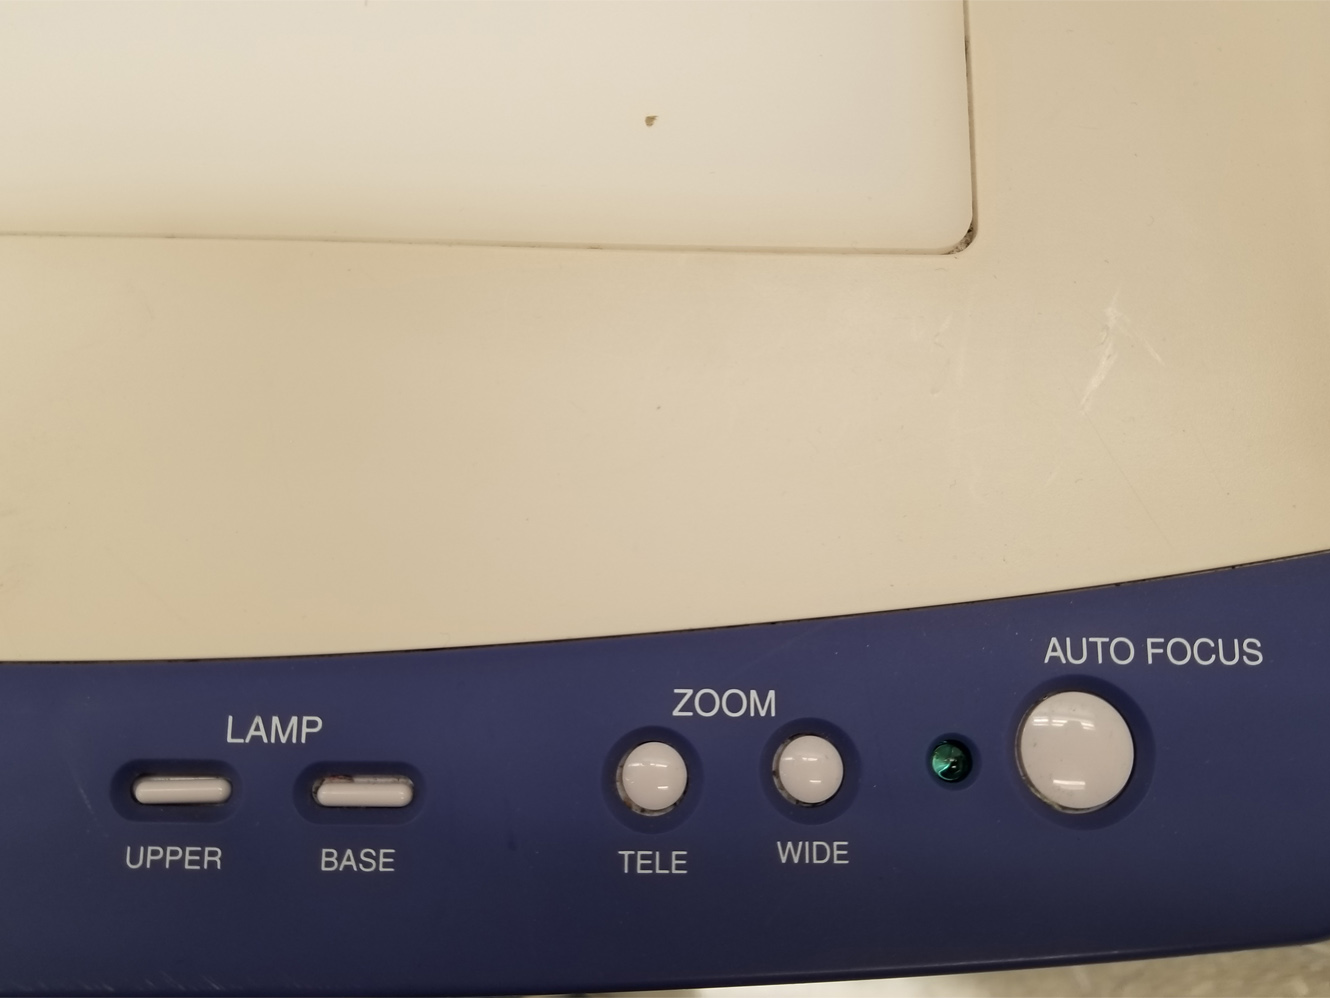
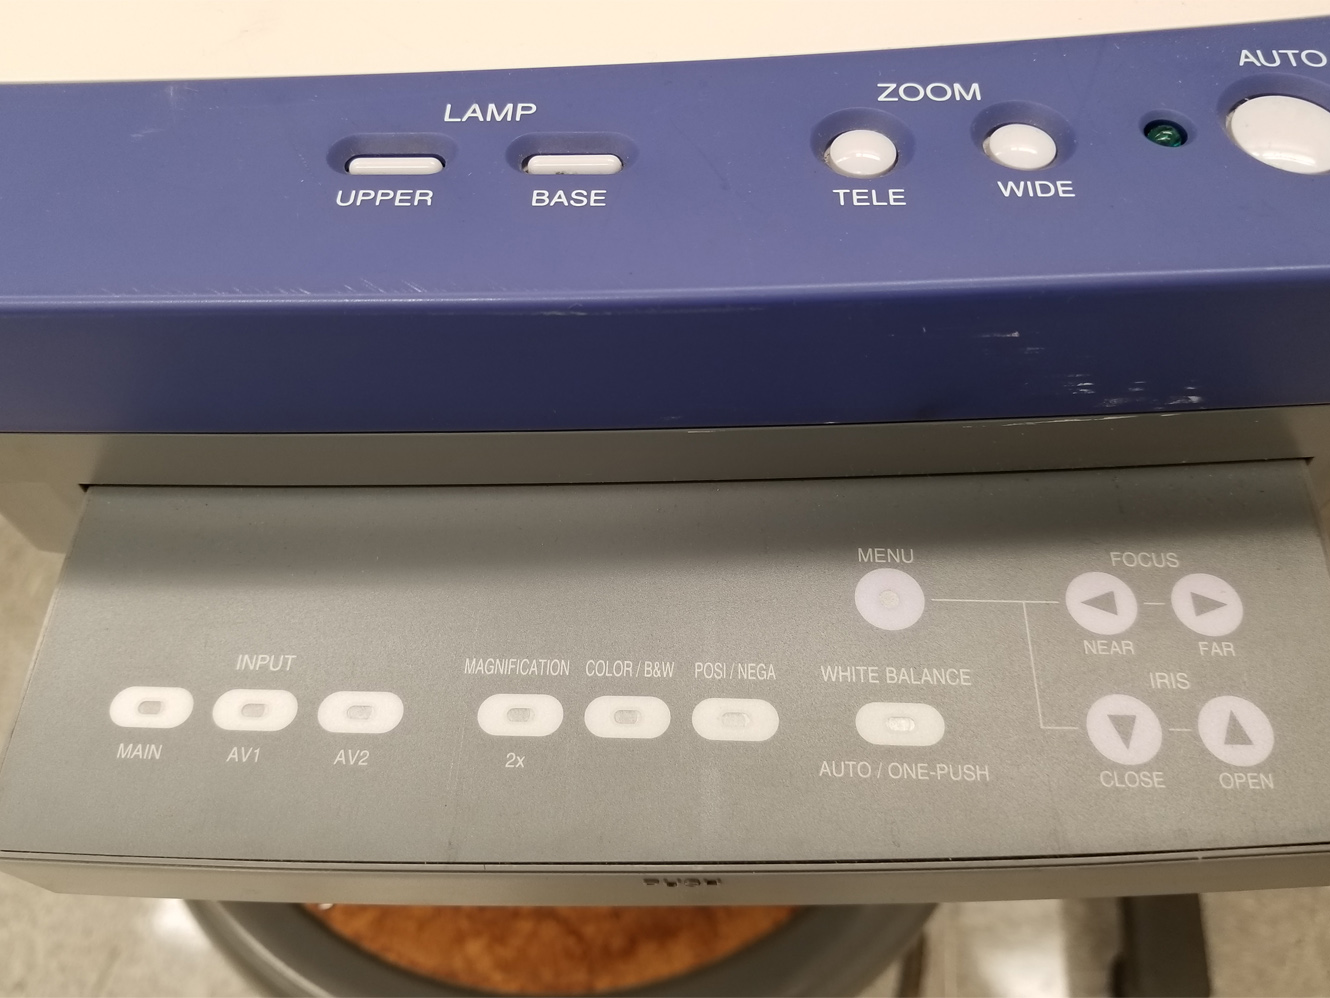
- Primary ELMO controls for the Lamp, Zoom and Auto-Focus (img 1) options are located near the edge on the right side of the base.
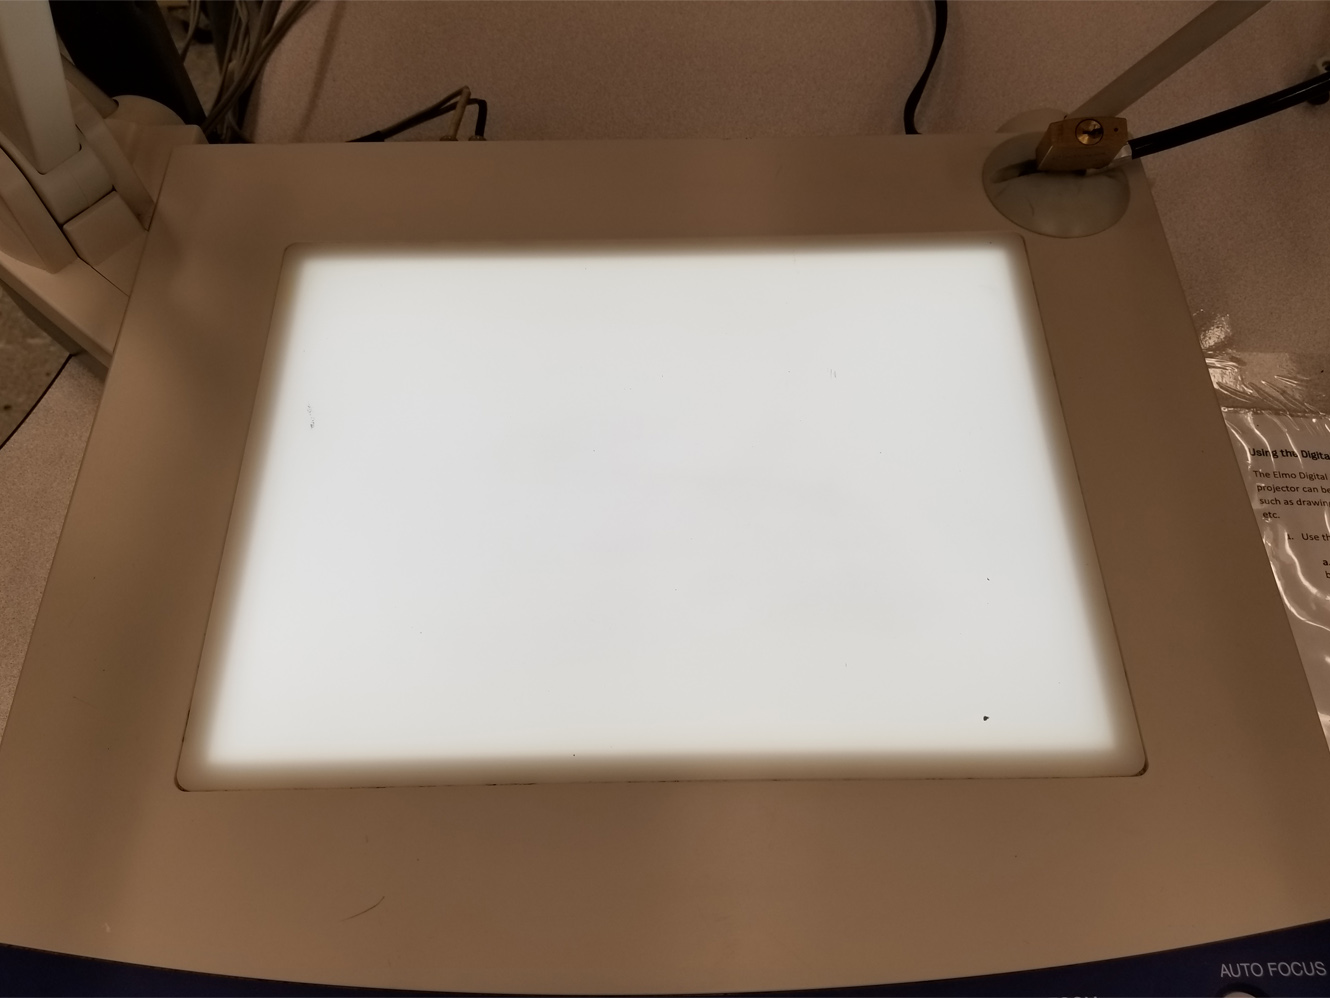
- Depending on your document type, the ELMO allows for a hover-head lamp (UPPER) for solid paper/media types (img 2), or back-lighting (BASE) for transparent media (img 3).
- Under the zoom options, Tele is used for zooming in while Wide is used for zooming out. With all of these option on the base alone, to quickly focus on your subject, all that is needed is to click the Auto-Focus button.
- There is an additional options panel located in the front face of the camera base
- see images below:
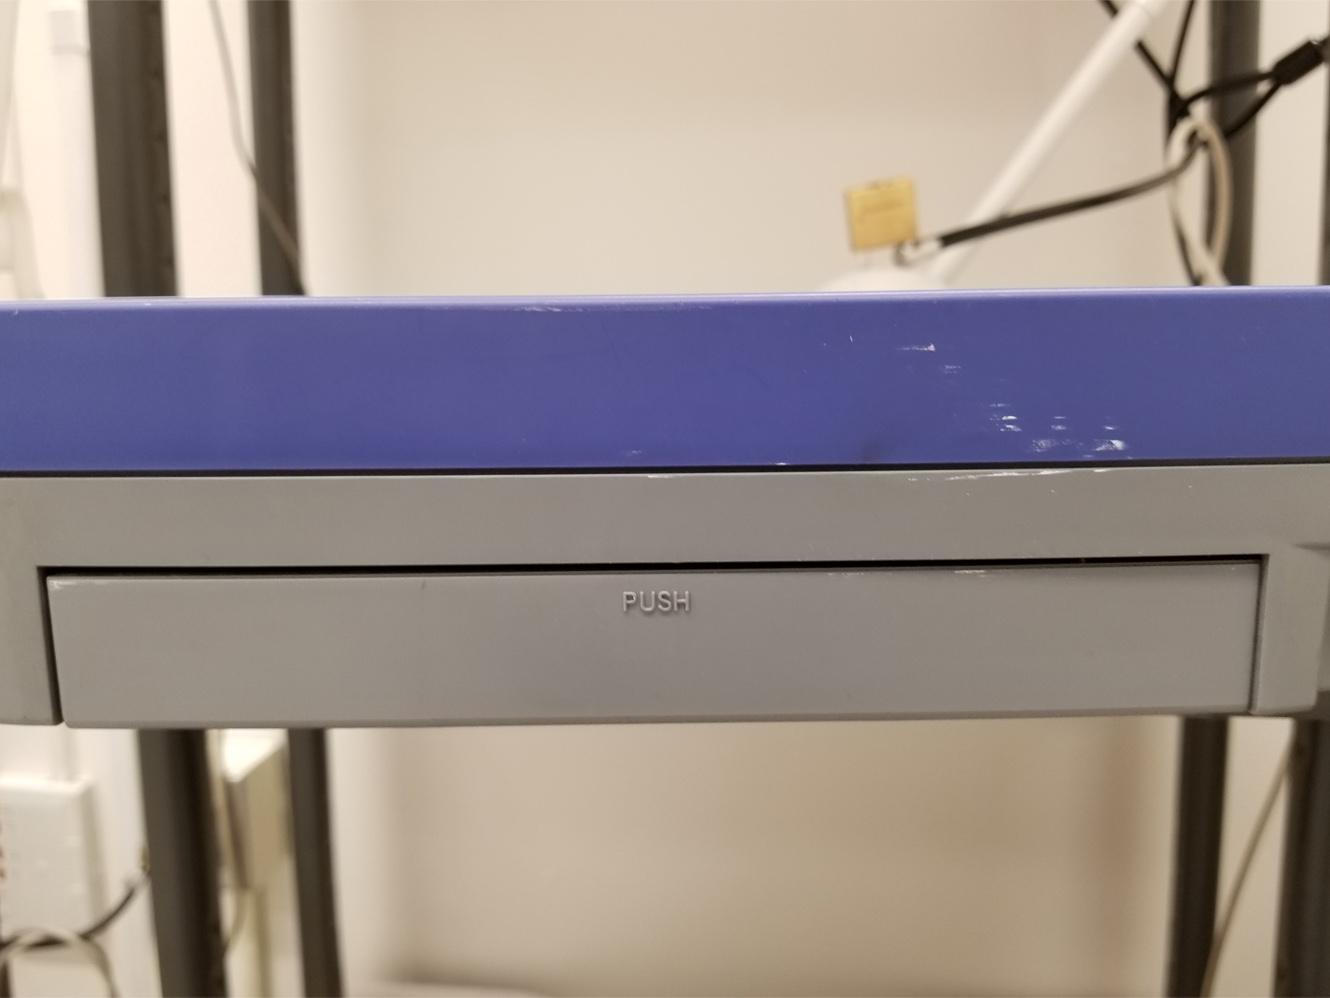
- To access the panel: push the raised word "PUSH" in the top-middle of the panel (img 4), and then pull the tray until it is fully extended (img 5).
- Now you have access to more ELMO tools such as: White Balancing, Color Inversion, Color/ Black & White display, Variable Magnification, Iris dilation and focusing options (img 5).
Congrats! You are now ready to use the ELMO Document camera and projector. For best results turn the lights of the room off while using the projector.
PLEASE be sure to clean up the ELMO when finished and power off all technology as to not burn them out.